If you have a laptop, you’ve probably considered a custom laptop skin- but where do you get them? Or, what do you need to make your own? The good news is we have you covered. Making your own laptop skin can be surprisingly simple and easy to do. Let’s take a look at what you’ll need to make your own custom Laptop Skin.
Laptop Skin Tools:
Design Tool (Adobe Photoshop, Illustrator…)
A Laptop (Seems Obvious)
Measuring Tape
Step 1: Determine Your Theme
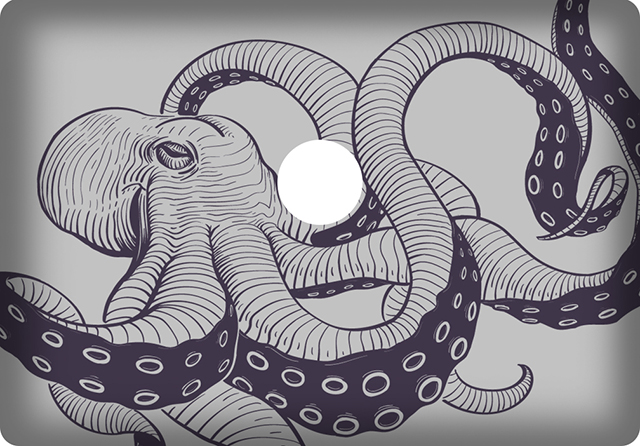
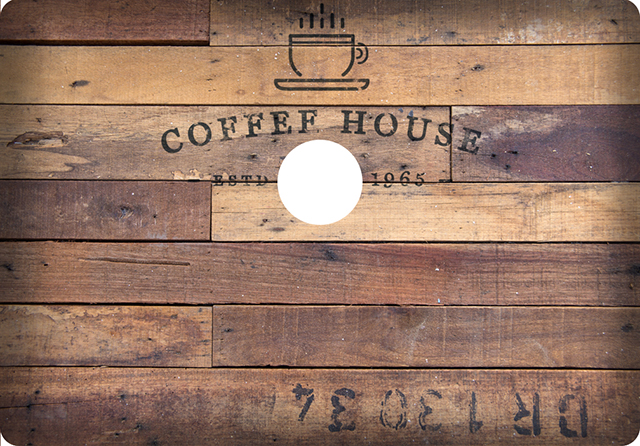
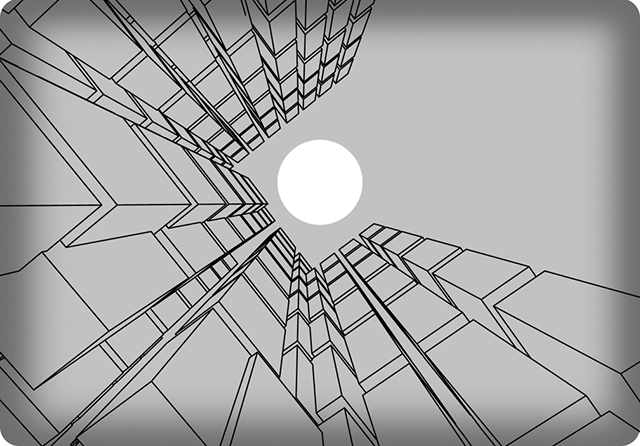
Finding your theme can be the hardest step, but like all journeys the first step can often be the most challenging. You’ll find a few themes on this page, but most themes will be dependent on your particular tastes. Personally, I’ve always had a love for Space, Dinosaurs and Coffee. So my theming may center around those themes, but yours may be different.
Step 2: Measuring Your Laptop
This step is perhaps the easiest but you still need to take special care. You will need to measure the width and height of your laptop, but also note of any logos or areas you may not want to cover. On the other hand, you may want to purposefully cover certain areas. Such as the glowing apple on Apple laptops. Once measured, jot down the sizes in your notes because next we’re going to start designing your laptop skin.
Step 3: Start Your Laptop Design
It’s time to fire up your graphic program of choice. Or, if you don’t have one it’s time to turn your attention to Lettering on the Cheap, where our friendly customer service can direct our graphics team to design the laptop skin of your dreams.
But let’s say you are designing it yourself- where do you start? First, create a composition that matches the dimensions of your laptop. Next, place guidelines over the locations you’ll want to avoid, such as the Apple logo in the photos above. Make sure your graphics are of a high resolution, preferably in a Vector file format. Now, if you’re scratching your head over ‘Vector Format’ perhaps I can help in the diagram below.
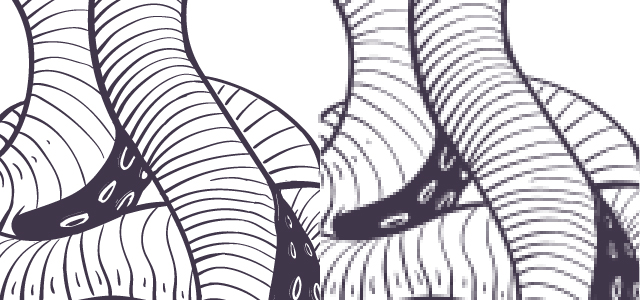
The #1 Goal in creating your own graphics is high resolution. We can accomplish this goal a few different ways. First let’s take a look at the diagram above, on the left we see a sharp image with very clear lines and on the right we see very pixelated lines creating a ‘fuzzy’ image. When we talk about Vector, we’re simply stating that the image has been created using mathematical formulas, that is to say the graphic program can tell you with a mathematical certainty what shape your design is. Because of this very accurate information, you can expand or compress your image to an infinite size without any distortion or fuzzy pixelation that we see in the right side of the diagram. That’s a good thing! It means we can pretty much always be sure the image will be high quality. Programs such as Adobe Illustrator create artwork typically in this fashion.
So, is the left side Vector? Maybe. Vector will certainly give you these results, but it’s not the only way to achieve high quality designs. The second method is called ‘Raster’. Unlike Vector, Raster images are based on pixels. You can see easily in the right image the image is made up of tiny boxes of color- each box is a pixel. So, to increase the quality we just need smaller and more pixels. But you should be warned, if you’re using an image in which already has a low resolution- there aren’t many ways to increase the pixels. Imagine you have a glass of water and it can hold 8 ounces of fluid. With your glass topped off, there’s no way you can put extra water inside. That’s the same problem faced with Raster images- once an image is created in a resolution, you can’t add more pixels for a better quality. Because of this, it’s very important to start your composition at a high resolution, such as 300 DPI (Dots Per Inch = Pixels Per Square Inch), this will ensure the quality o your Laptop Skin will remain crisp and clean.
So now you can see the image on the left may be a Vector image, or a high quality Raster image. Both provide the results we need.
What Comes Next?
With your design ready to be printed, contact us at Lettering on the Cheap to start the production process. We’ll be writing a new article in the future for applying your Laptop Skin- stay tuned and send us pictures of your custom skins!