No matter if you’re hosting your own marathon or just want to impress your friends with a water bottle featuring your face on it. Custom Water Bottles are simple and cheap to make. This is one of those easy ideas that when you see it you’ll wonder why you didn’t think of it yourself- but not to worry. We have your back. In this how to we’ll be covering everything you’ll need to go from boring water to “Whoa- that’s awesome!”
Tools
Water Bottle (No Wrapper or with Wrapper Removed)
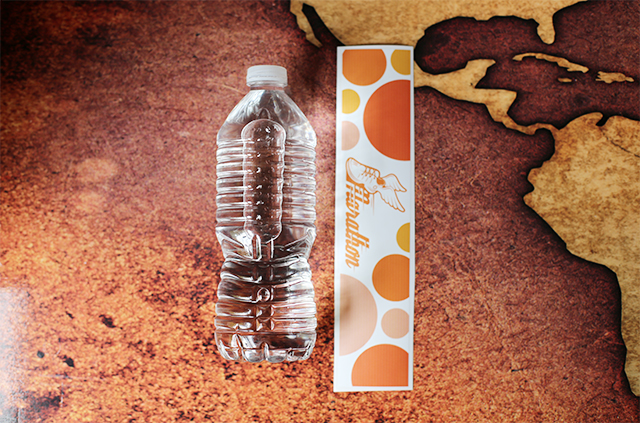
Vinyl Graphic
Step 1: Measure the Surface of your Water Bottle
Assuming you have your water bottle in hand, the first step is to of course measure your surface. Now, you’ll need to take into account the curved surface of your bottle, so a soft cloth tape measure is easiest to work with. Determine the dimensions your graphic will cover. For our example, we choose to cover the entire diameter of the bottle.
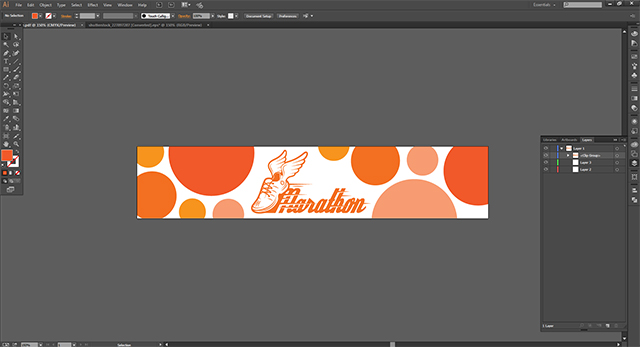
Step 2: Create your Graphic
Now that you know your dimensions it’s time to move to your graphic program of choice (Adobe Illustrator or Photoshop works great!) and design something within the size limits. Today’s example was a simple example design. But the options are literally limitless. Get people involved in your charity, organization or business by creating something memorable- while being something most people will gladly accept.
Step 3: Applying the Vinyl on the Water Bottle
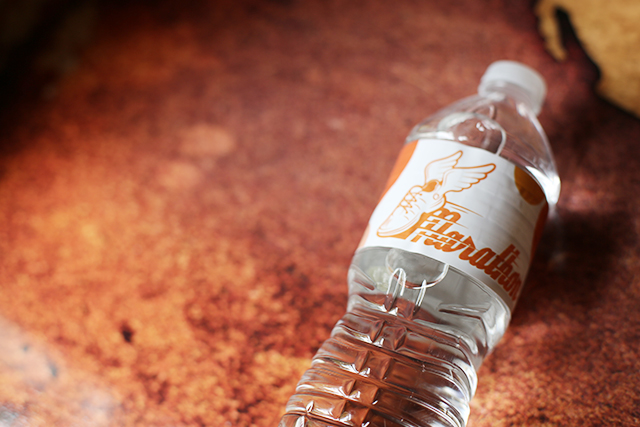
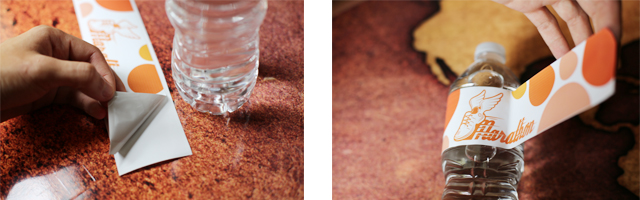
Now with your graphic ready to go order your Vinyl from Lettering on the Cheap. For our example we chose a Standard Vinyl and the application worked perfectly. But you can always upgrade to particular specifications if you have a really unique or imaginative design. With our vinyl in hand it’s time to apply the Vinyl Graphic to our water bottle. Application is simple, first peel the vinyl off the tape and hold gently in your hands- careful to not stick the vinyl to itself. Next, starting from the center let the center of your graphic stick to your bottled surface. I found it easier to smooth out one side of the graphic first, before wrapping the second half around the bottle.
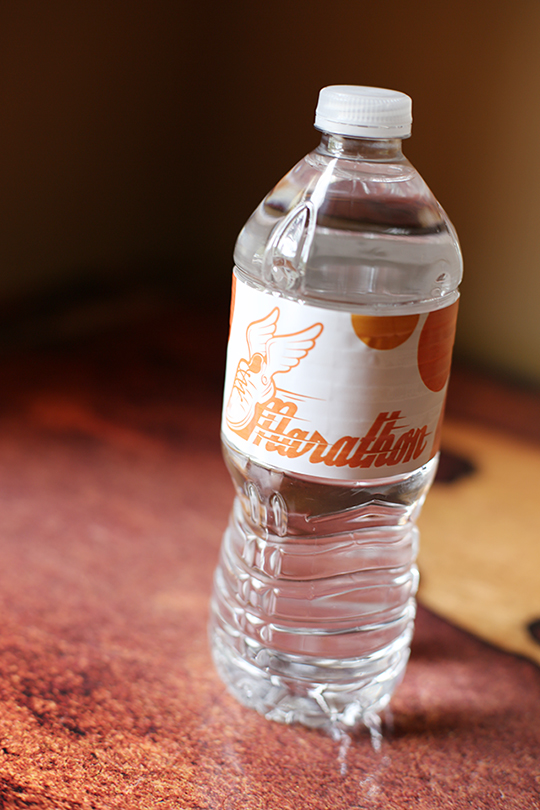
Success!
Application is finished and the bottle is ready to be handed out. For more information or pro-tips you can always contact our friendly customer service by connecting with us at Lettering on the Cheap!