With Football season fully upon us I’m sure many household’s with high school boys (or grown men who are still boys at heart) are smelling a bit funky these days. If you’re anything like my old room mate you love incense because of it’s amazing ability to mask even the most toe curling of smells. Though to be fair, I’m pretty sure he was using incense to avoid getting new shoes. He loved those shoes.
Today we’ll be making our own Incense Burner out of a reused bottle and a bit of custom vinyl from Lettering on the Cheap. This a pretty easy do-it-yourself project and a great place to start for beginners. Assuming you can find an old bottle to use, this project should pretty easily be under $10.
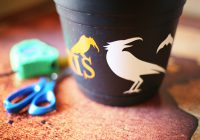
01: Measure Your Bottle
Starting off you’ll need to get your hands on a bottle. In our case we used an empty ‘sparkling grape juice’ bottle from a recent office party (we’re pretty high class). If your bottle has a wrapper attached to it like ours did you’ll have to carefully remove it. In our case we used an adhesive remover to remove any additional goo we found around the bottle, which quickly improved our success with the cleaning process. Now, with a clean bottle we’ll need to measure the work area- that is, the area you’ll want a vinyl design attached to. Keep in mind to avoid too curvy of areas- such as the neck of the bottle. Why? Well, we’ll be applying a rectangular decal onto a curved surfaced. In theory, this surface should be fairly smooth. Imagine cutting the cardboard of a paper towel roll along the length of the roll. You could easily flatten it out into a rectangle. (look at where we applied ours in the reference above). While we won’t be cutting our bottle obviously, what we’re looking to achieve is applying the decal on a surface that *would* unroll into a rectangular shape.
That said- typically you’ll want to avoid the neck of the bottle. Still don’t understand? Try to apply a square decal around an orange and tell me how that goes.
02: Designing your Graphic
Now that the measuring is out of the way we can start to look at the design more seriously now. Take a look on Google, Pinterest, or any other website you grab your inspiration from. In our case, we decided to go with a simple floral design. You can easily design your own decal from Photoshop, Illustrator or by using our handy design tool at Lettering on the Cheap. With a short wait you’ll find your decal in the mail and we’ll be ready to apply the decal.
03: Applying your Decal

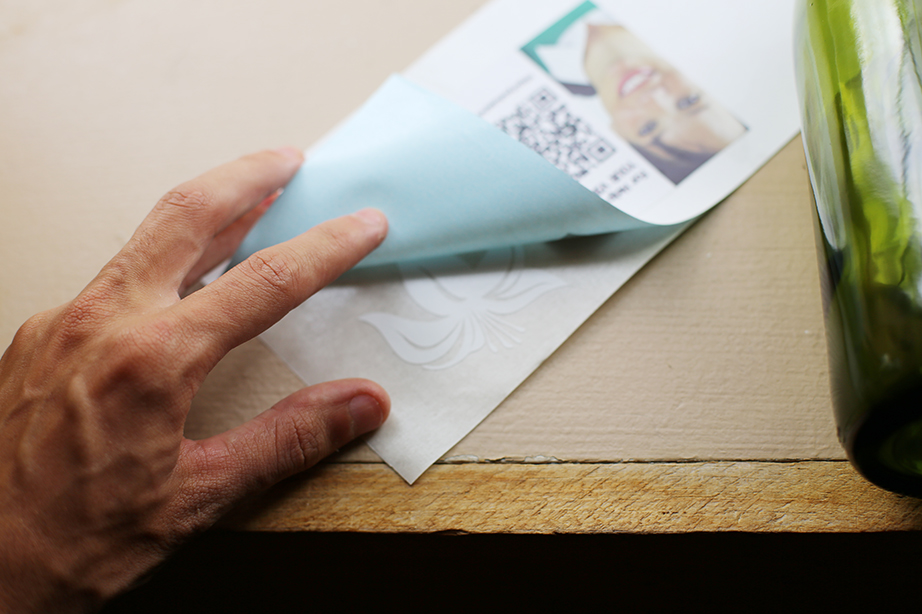
Applying your decal is pretty straight forward. On glass, decals are going to apply extremely easily, so easily you may want to take extra caution. But first, let’s remove the protective backing the vinyl comes with. We’ll be pulling the backing away from the vinyl for the cleanest pull. We’ll want the vinyl to remain on the masking tape. It may seem silly- but I promise there’s a method to madness. The masking tape is not particularly sticky, but the vinyl will adhere very easily.
 Using the masking tape as a transfer, we’ll align the decal and begin application from the center of the decal. Carefully press the decal onto the bottle in a starburst fashion- starting from the center and working your way out. This will ensure a nice clean application.
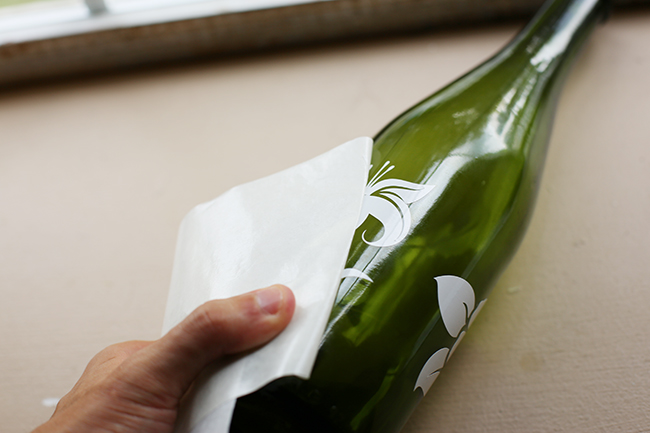
With the decal applied, we can slowly start to remove the masking tape. Your vinyl should remain on the bottle, but if it doesn’t. Simply press the vinyl back down and slowly remove the masking tape slowly. But in this case I doubt you’ll have too much trouble- glass is vinyls best friend.
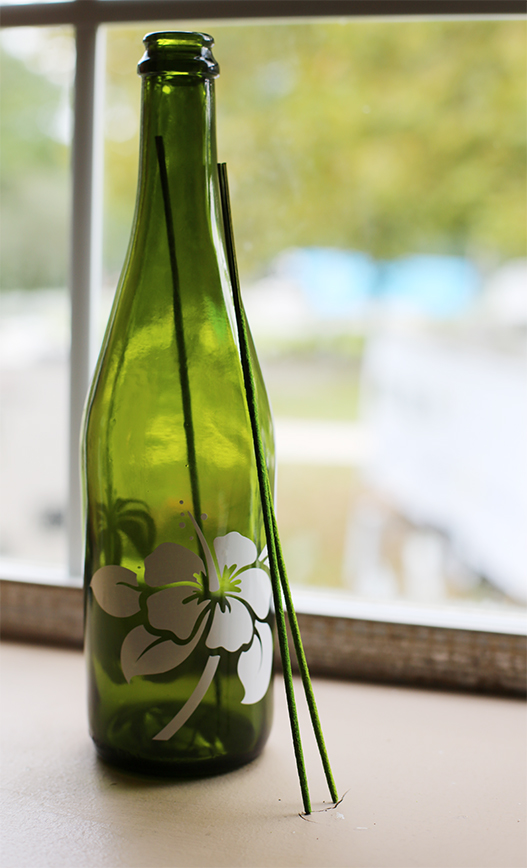
And just like that we’re done. Grab your favorite incense and drift away into a calming dream.