

Halloween is probably one of my favorite holidays, namely because it involves throwing a party every year for friends and family. This year, my nephews which are getting old enough for some trick-or-treating of their own needed some buckets for their candy pillaging collecting. After a bit of head scratching I realized all the kids really wanted was something with their name on it. Let’s be honest, if it holds candy and says your name- you’re probably going to be ok with it- and that goes for any age.
01: Obtain the Materials & Measure
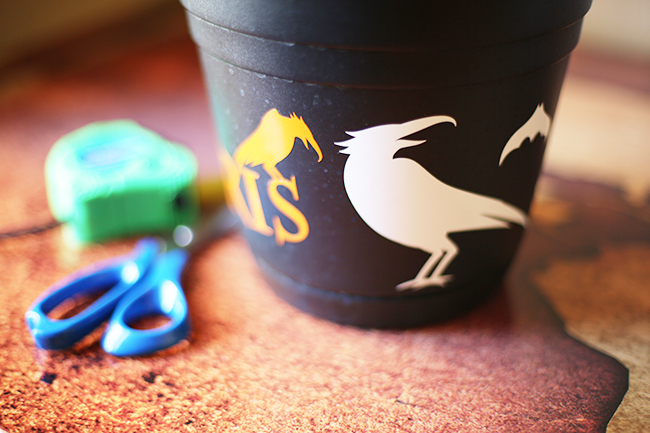
Now the idea originally was to find a tin bucket, but for the life of me I couldn’t find one anywhere. So I decided to substitute for a black planters pot. Not to worry however, this problem turned into a positive solution down the line. With my pot in hand I had a good chance to measure the surface for the vinyl design. Now, I noticed something when I measured my pot, the sides were slanted outward. Meaning it was not a perfectly cylinder shape. Like trying to wrap paper around an orange, you’ll never be able to do it without some ugly folds somewhere. For my design it wasn’t a huge issue, but I can show you how to get around those problems in the next couple of steps.
So first, we measure the area we’ll be applying the decal to. Then, we’ll either turn to our graphic program of choice, or go to Lettering on the Cheap to use their design tool and order our vinyl. After a few short days you’ll have your design sitting on your doorstep.
02: Apply the Vinyl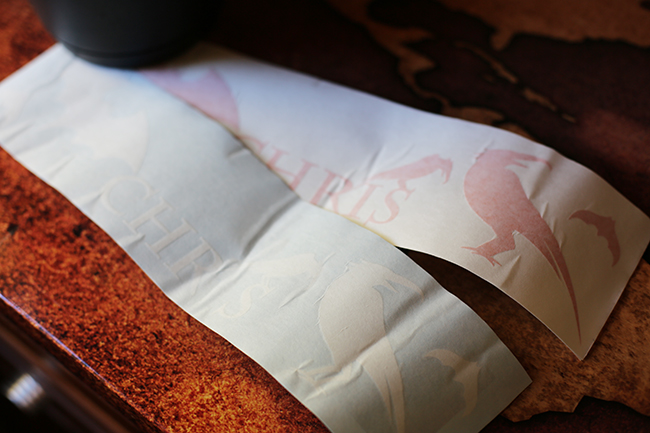
Now, I ordered two different colors of the same design. One orange, one white- not because I had some wise intuition. But because they were cheap and I hadn’t a clue which would look better. As luck would have it, I ended up using both colors anyways.

I mentioned earlier that wrapping my bucket would be a bit hard due to the shape. So to solve that problem I simply cut the masking tape they provided me with, careful to avoid my actual design I paid for. Seeings as I had two colors, this meant I could also mix and match. If this was a super sensitive project where placement was a bigger deal. I may not have completely cut the tape. But instead just cut a few lines along the tape- This way the material could still overlap where necessary, but the design would remain positioned correctly.
 Now I had my pieces exactly as I wanted them. It was time to apply.
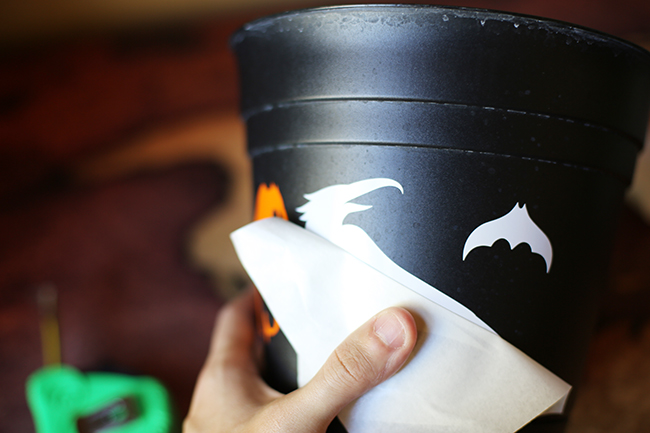
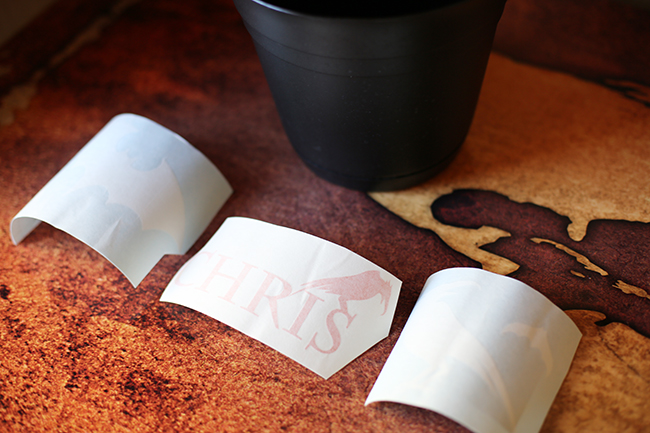
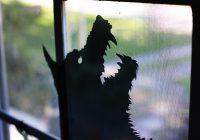
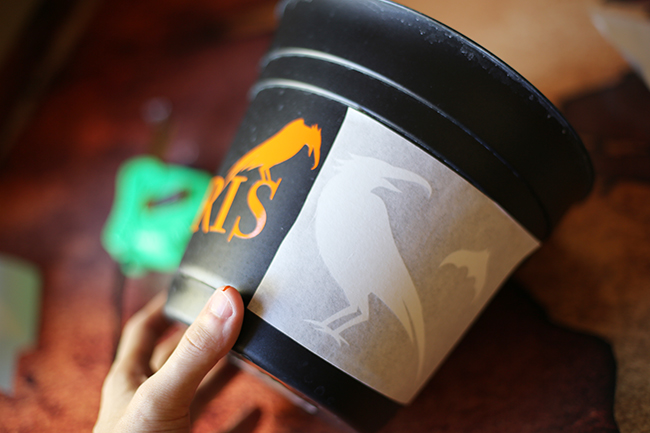
Starting from the center, I took the vinyl with the word ‘Chris’ on it and started to peel the backing away from the masking tape. 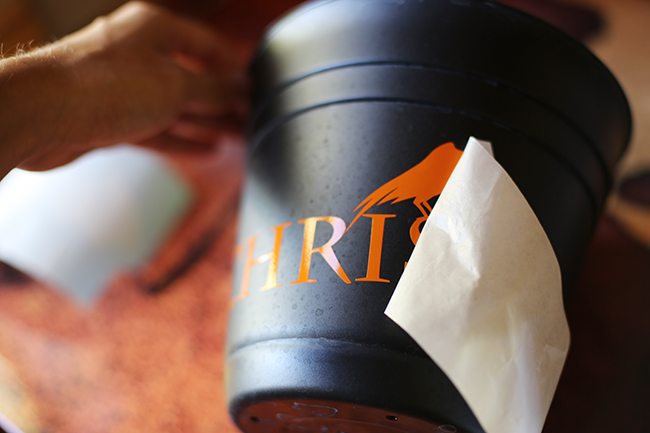
Starting from the center I pressed the vinyl on the bucket and smoothed the design onto the surface. Once applied, I removed the masking tape to reveal the vinyl adhering to the bucket. Easy. Now to work on the other graphics I cut.Repeating the process, I placed the other two decals on either side of the word Chris. Careful to ensure everything remained fairly lined up.
Done! With the vinyl anyways.
03: Making a Handle
Assuming you find a bucket with a handle, you’re good to go. However, if you’re like me and didn’t have a handle. There’s always an easy solution for that. Using a drill I cut two holes on their side of the bucket. About a quarter inch. Then, I went back to the hardware store and found some thin, quarter inch rope. The next part was easy, slip the rope through the first hole- tie a simple knot and extend the rope to the opposite side, tying another knot. Mission Success.
