Weddings are expensive. That’s a phrase that goes without saying, as I learned first hand during my brother’s lavish party. But with a little creativity you can save yourself hundreds, potentially thousands using a few tips and tricks I learned over at Lettering on the Cheap. I’m talking about the creative solutions provided when we use Vinyl to supplement our Do it Yourself projects. It’s not just weddings either, the example we see today will spice up any number of situations from parties to handcrafted holiday presents.
To get started I designed a simple, but elegant graphic for a Dinner Plate and Champagne Glass using a graphic program like Adobe Illustrator from home. I took special care to measure the plate and glass to make sure my design wouldn’t be too big or too small. After placing my order with Lettering on the Cheap it was a short wait before my decals arrived in the mail ready to be applied. Using a few simple tools such as a Wax Pencil and Tape Measure I was ready to go. I’ve applied a number of decals before, but even pretty green DIY’ers should be alright with installation, but if you have questions you can always check out LOTC’s How To video page for more information. From my installation it took about a 5-10 minutes to setup and complete this project, but it may take less for you- I was taking pictures too!
Starting your Vinyl Transformation:
Step 01:
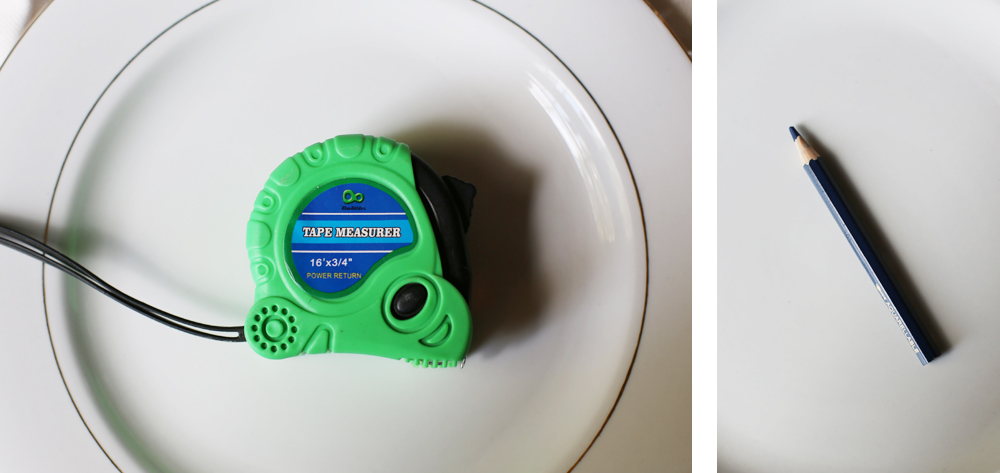
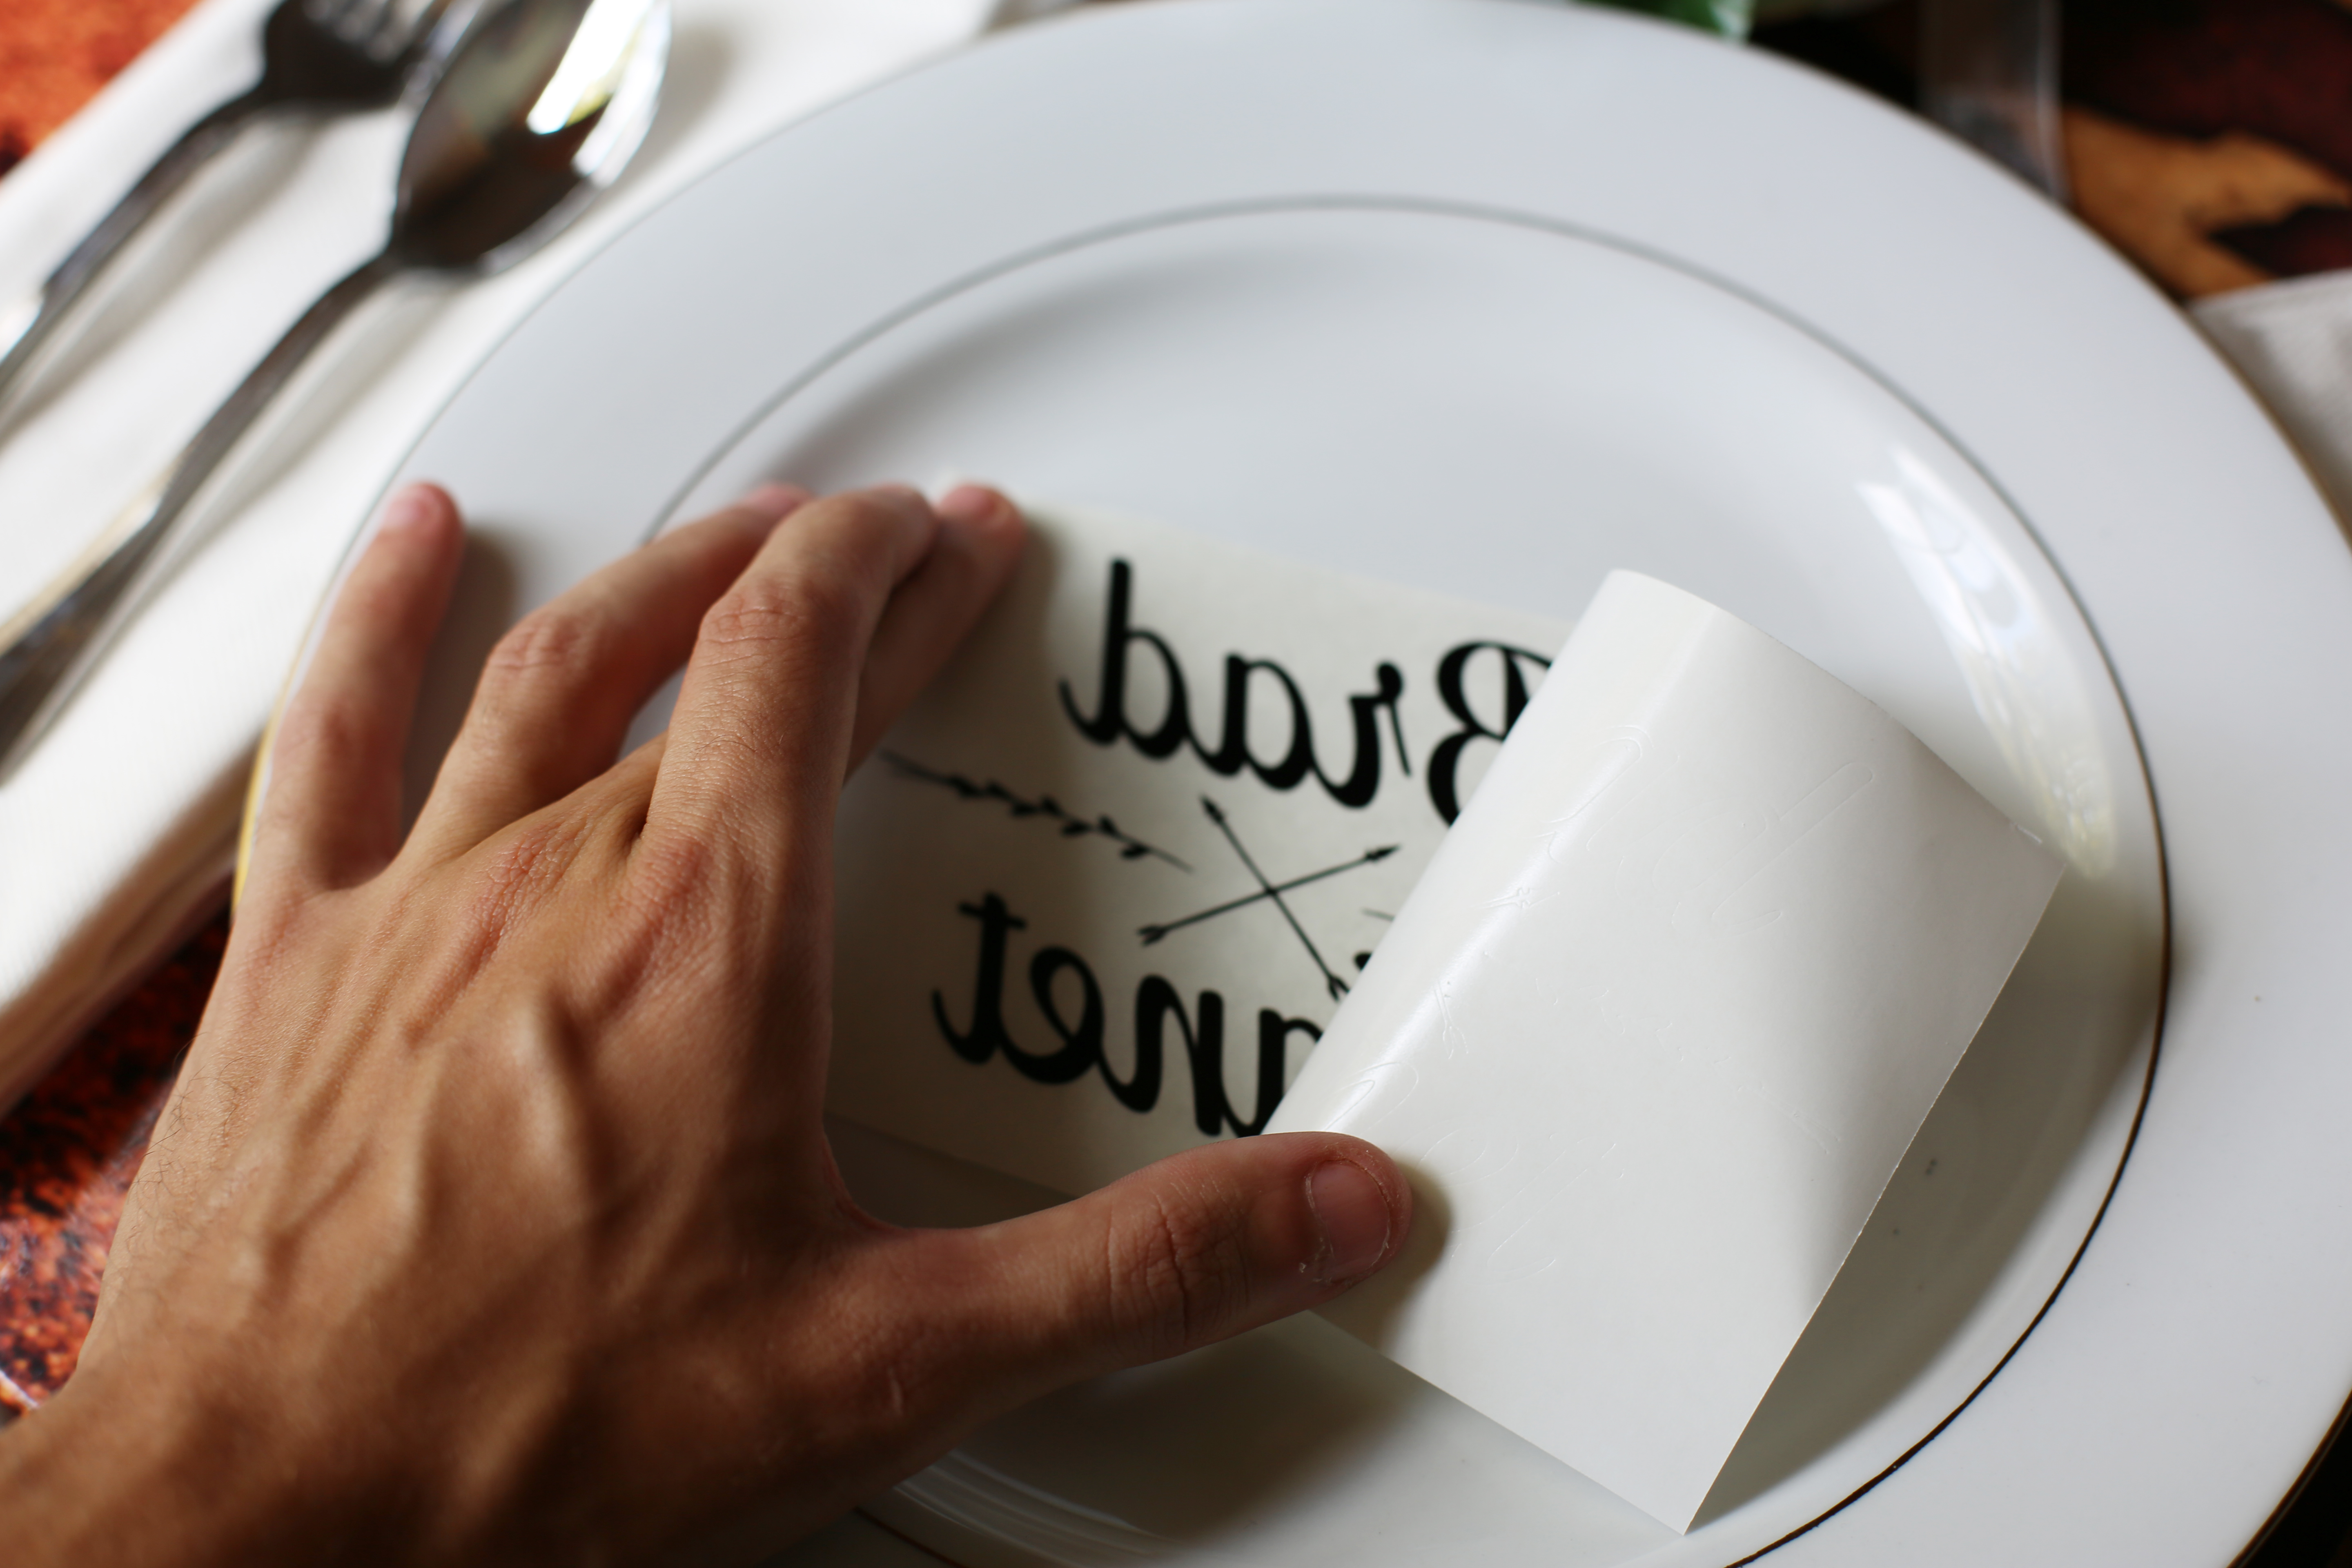
Remember when your Dad told you to measure twice and cut once? That old philosophy holds true here too. But instead of cutting, we’ll be measuring twice and applying once. What we’re looking to achieve a center aligned position for today’s decal. This may be different for you depending on your design. But finding the center is pretty simple once you’ve measured a few times.
Step 02:
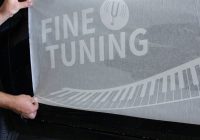
My anticipation was building at this point. Next came removing the vinyl from its shiny backing. The trick to this, is peeling the backing from the vinyl, rather than the vinyl from the backing. Seems like a simple thing- but it can save you a lot of headaches, especially on larger vinyl.
Step 03:
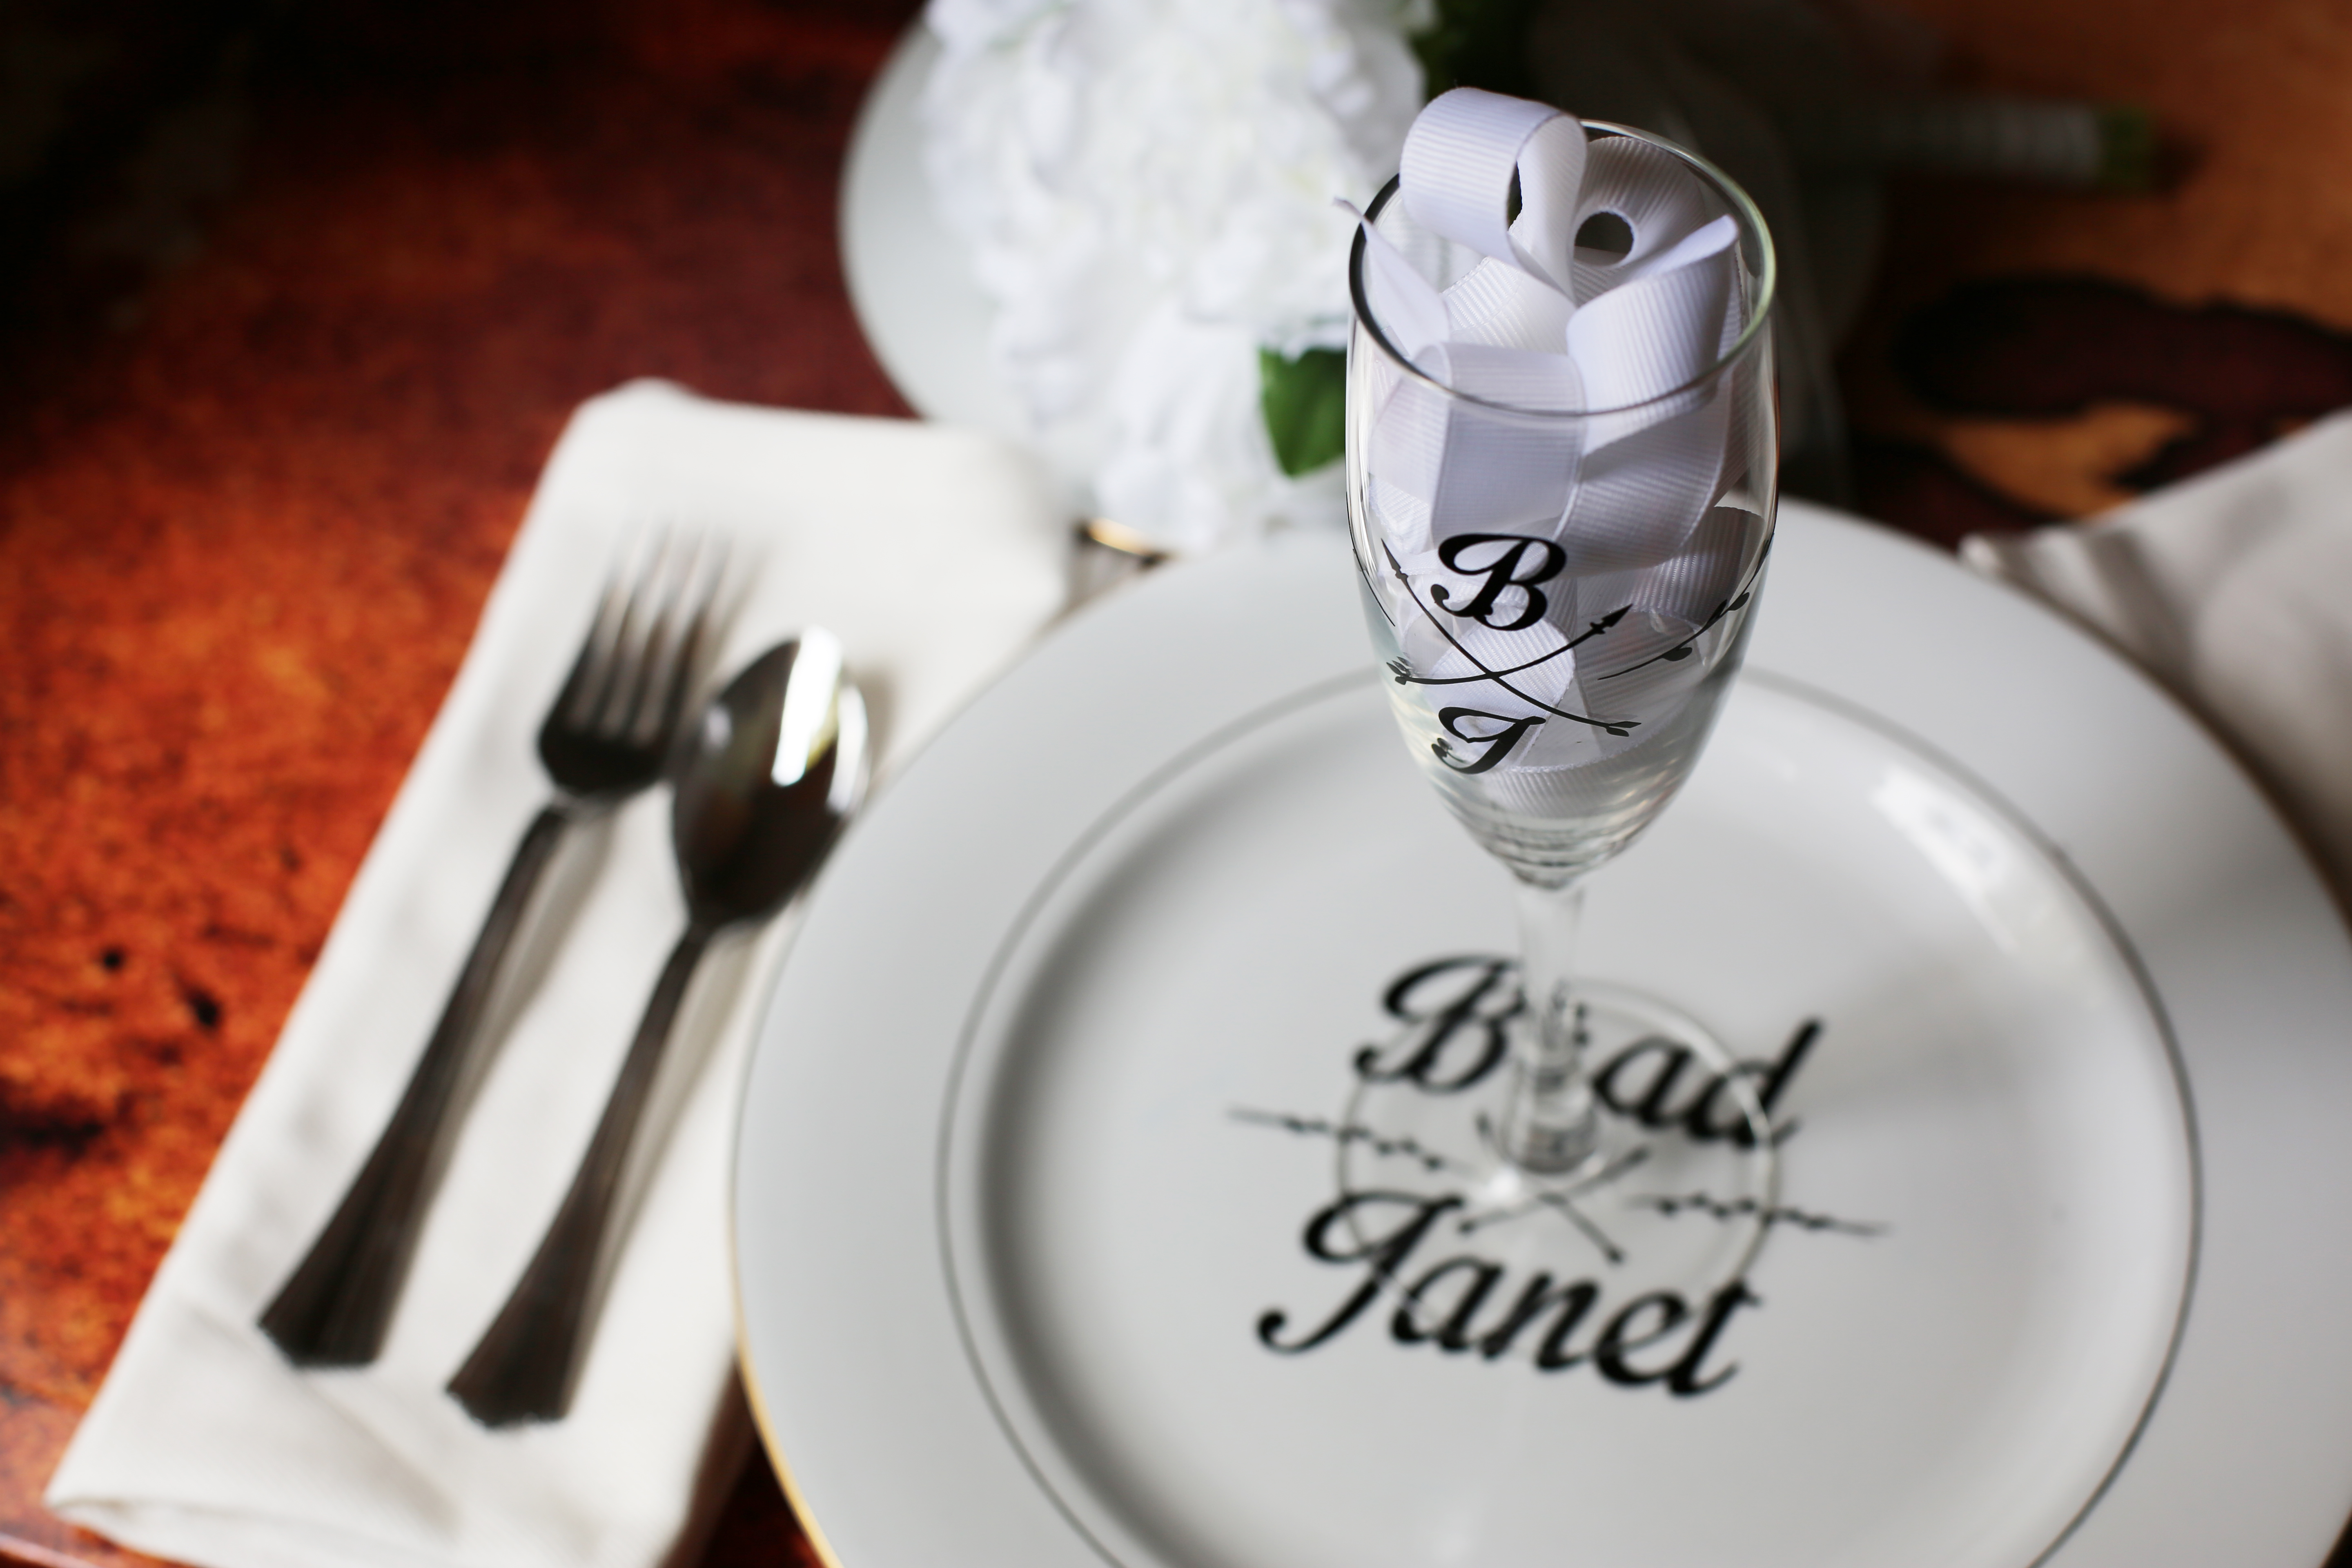
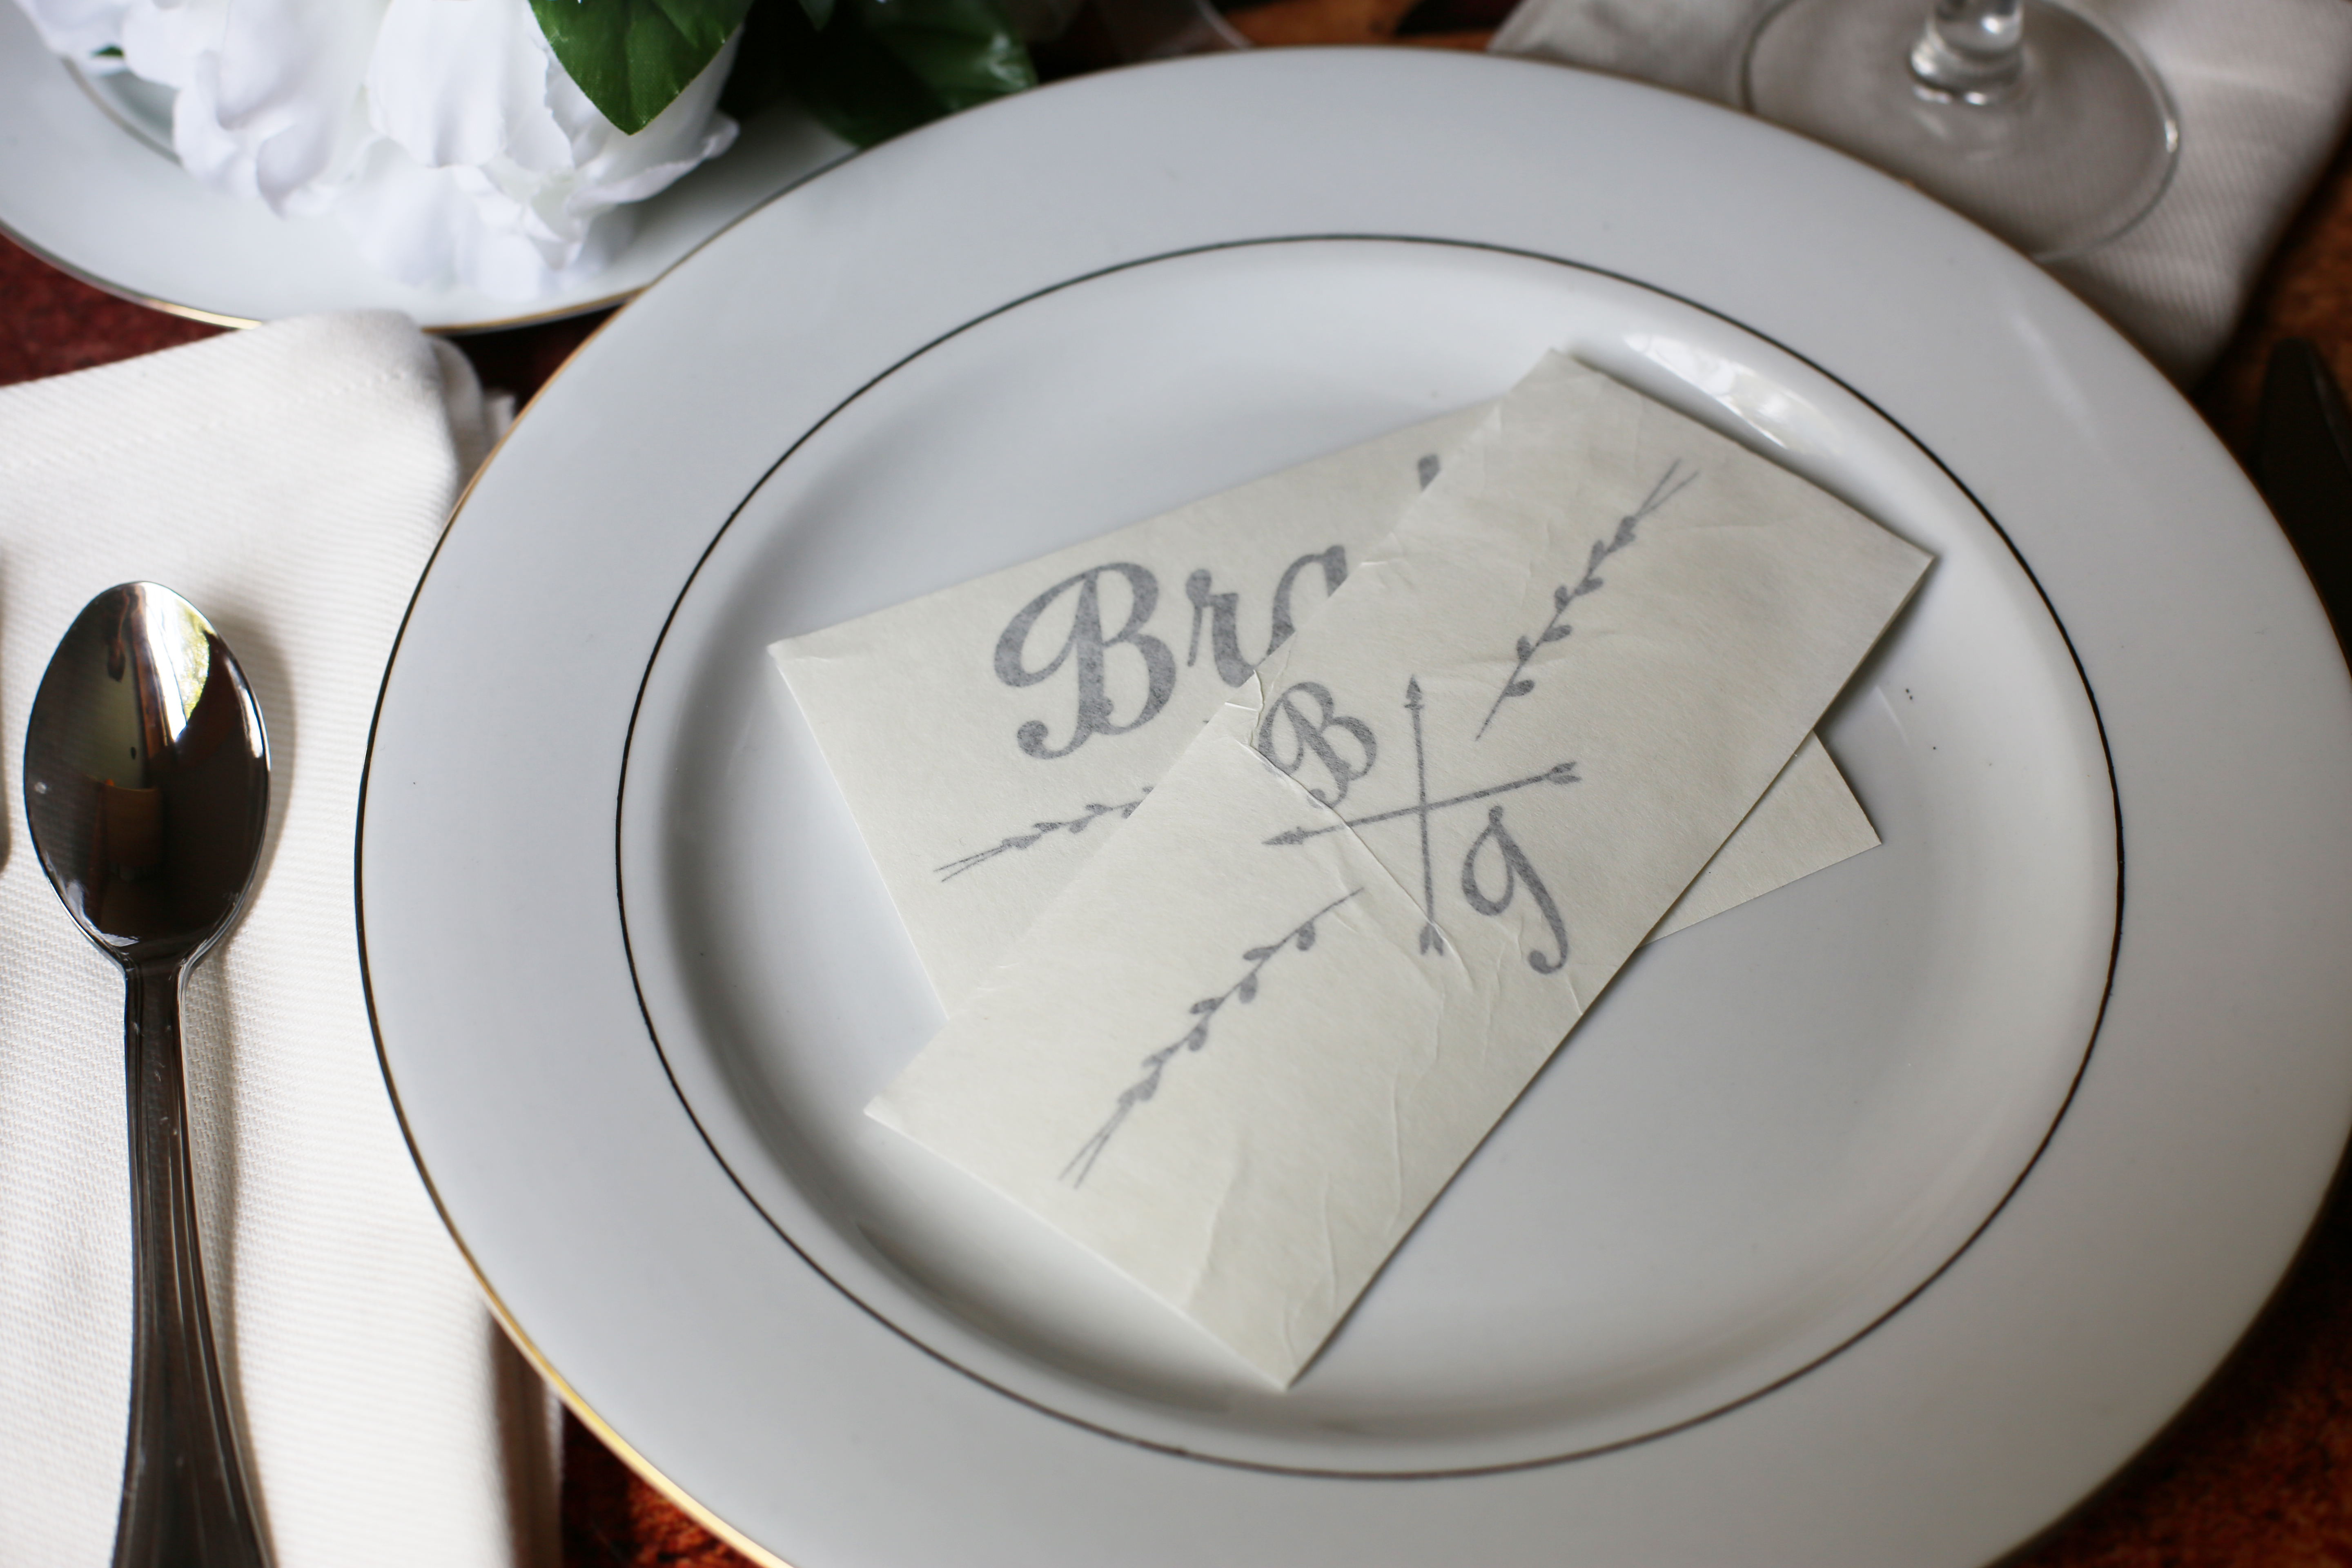
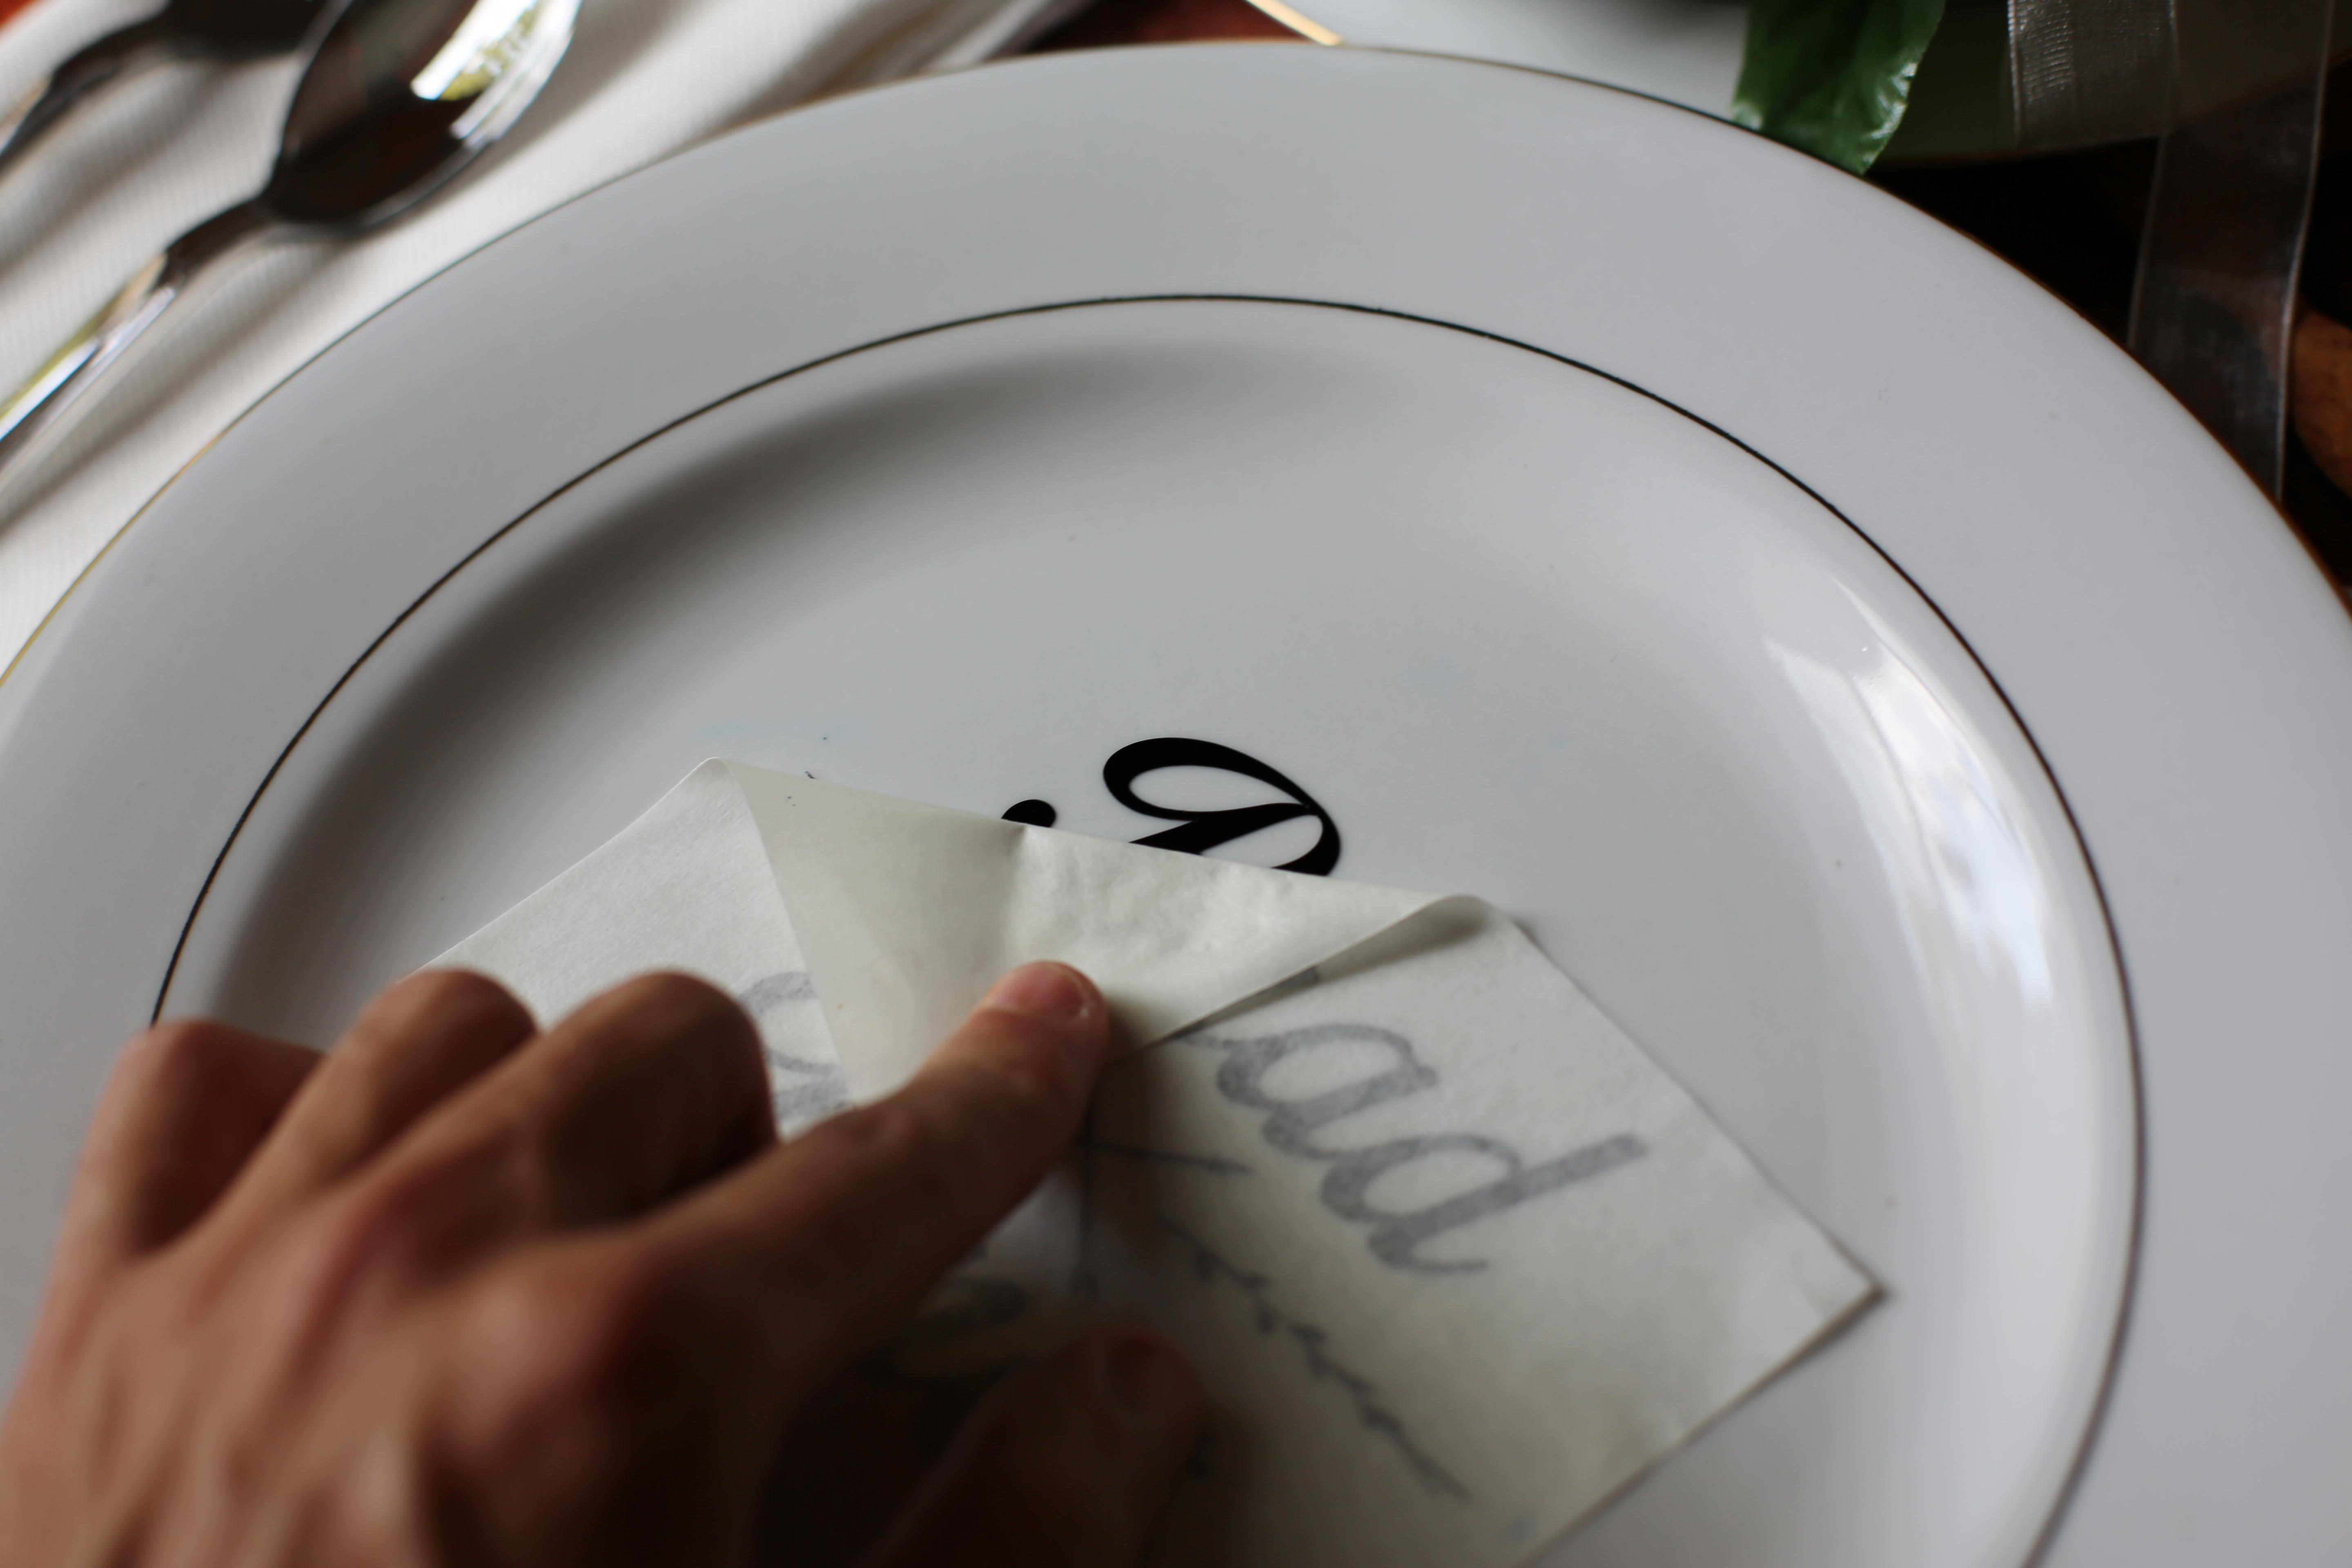
Using the marks I previously measured, I applied the Decal to the center of the plate. A good tip is to apply the center of the decal first and then smooth it out from the center – out.
Step 04:
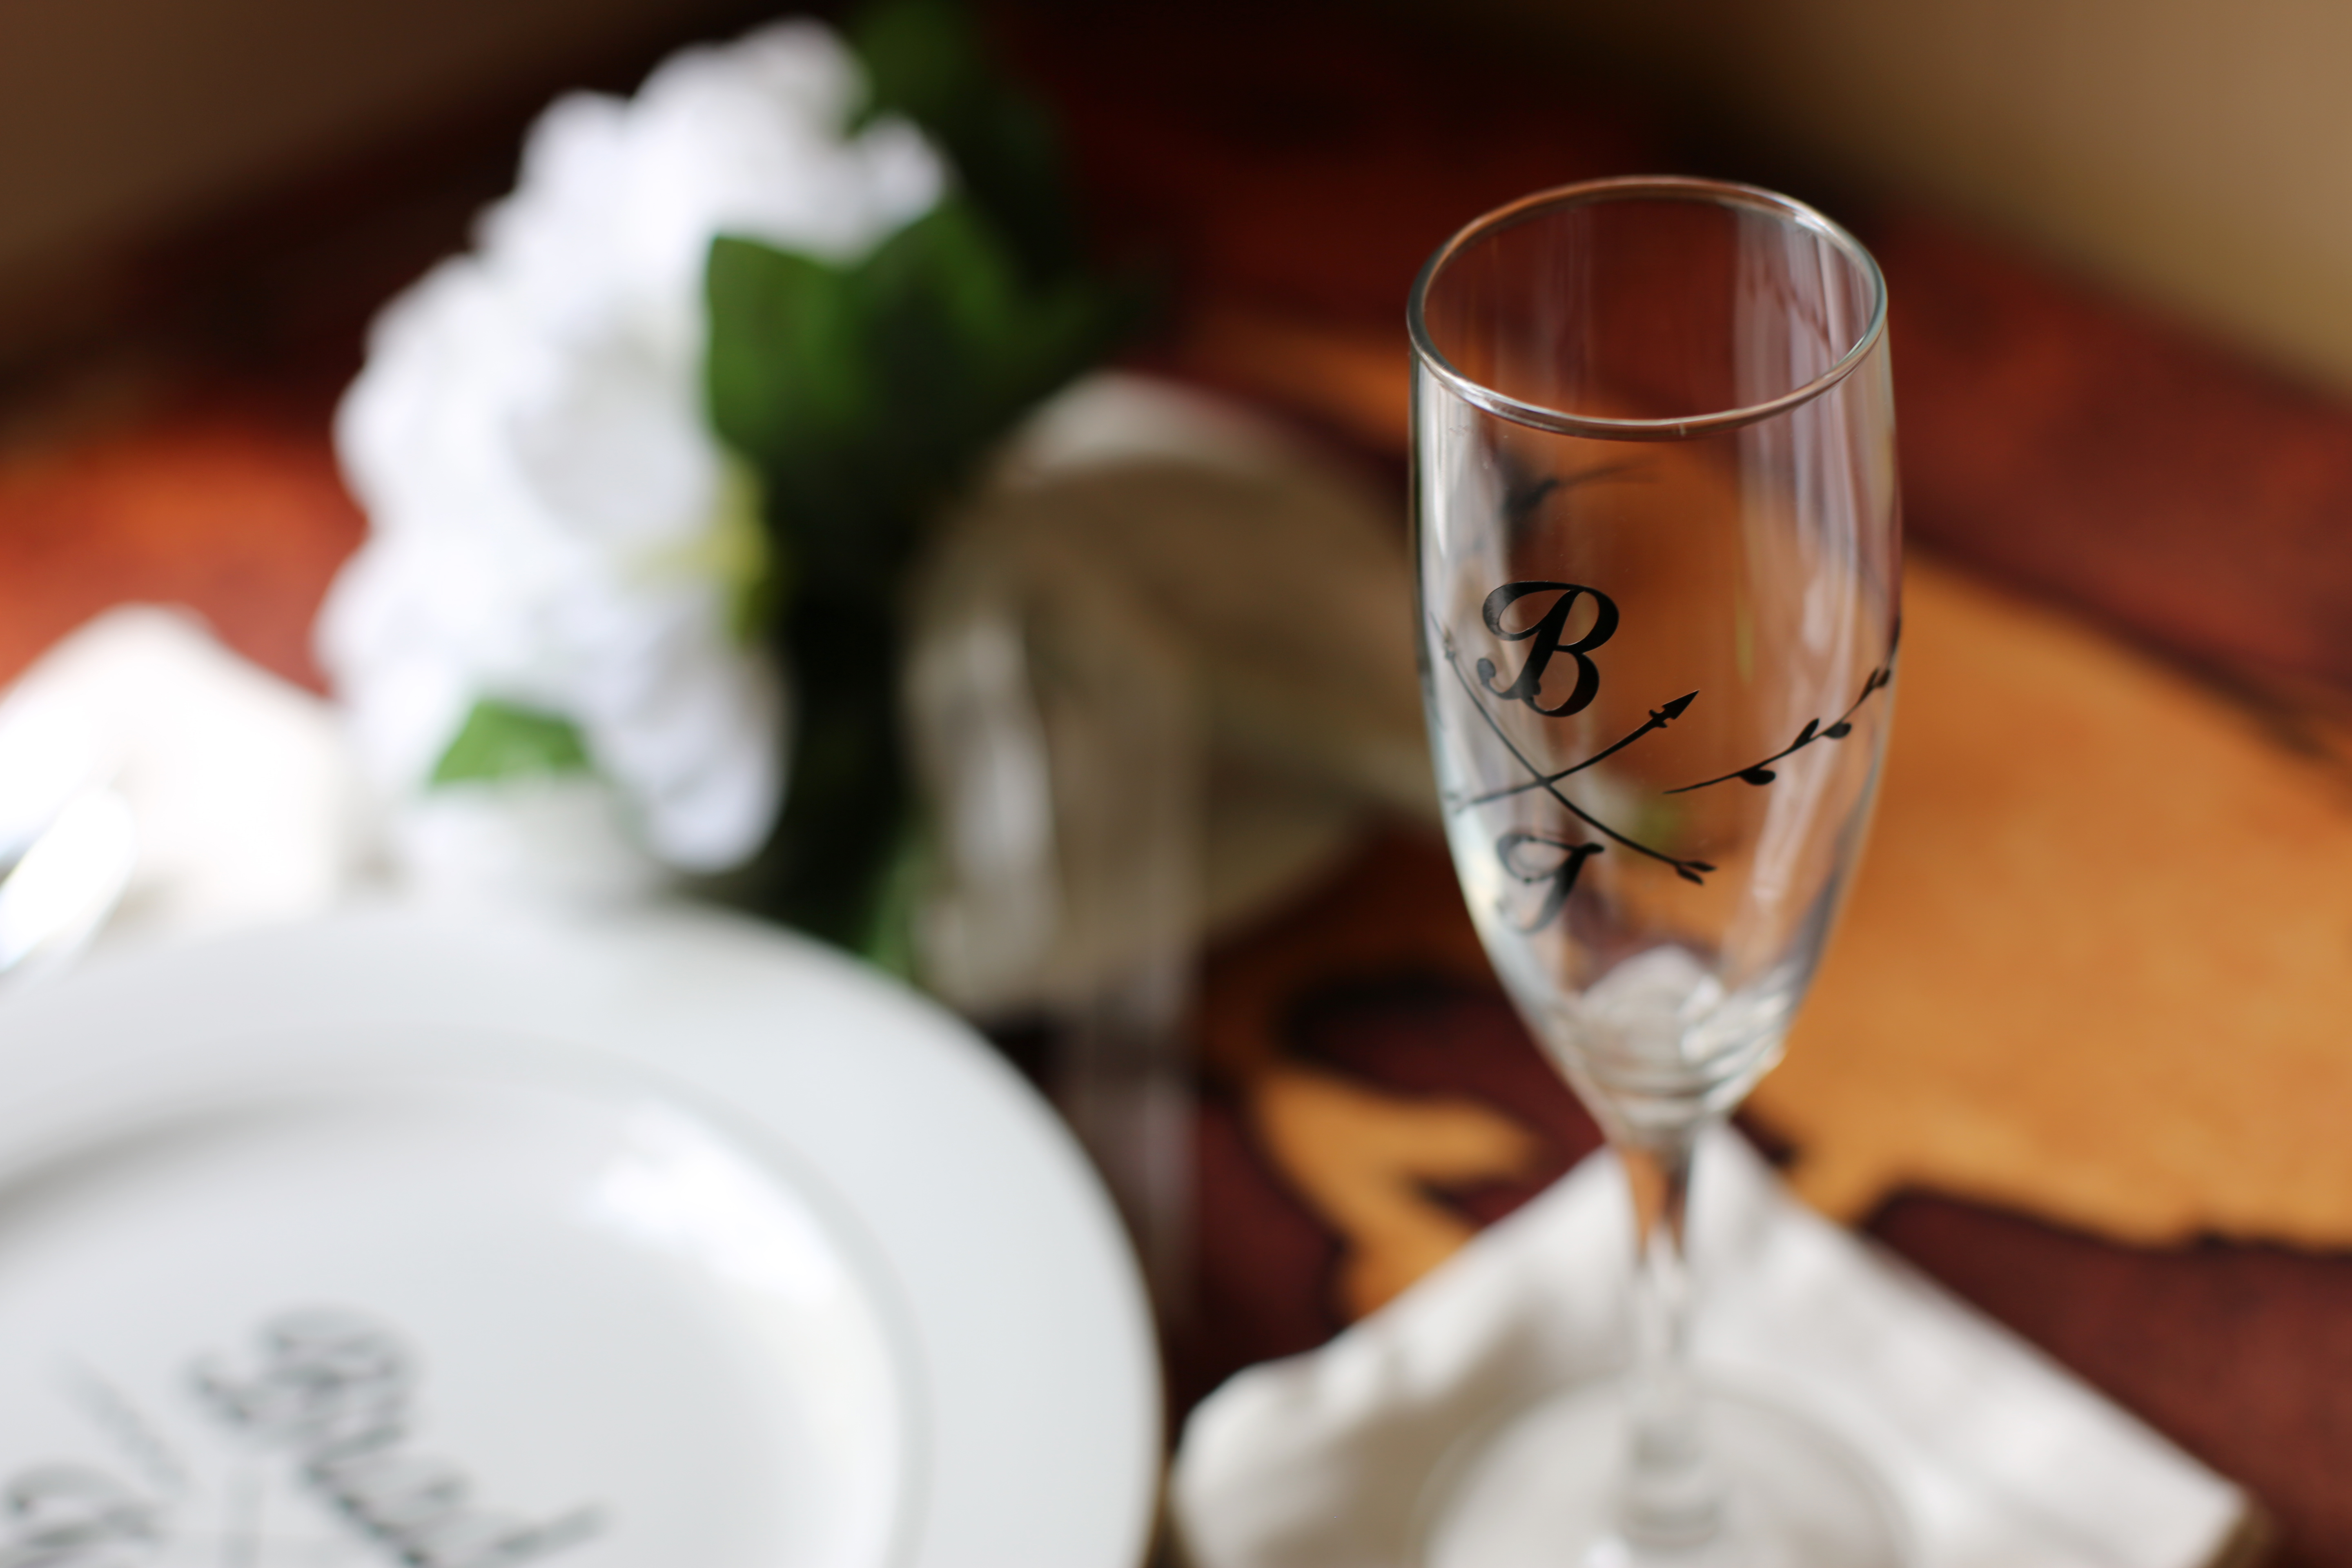
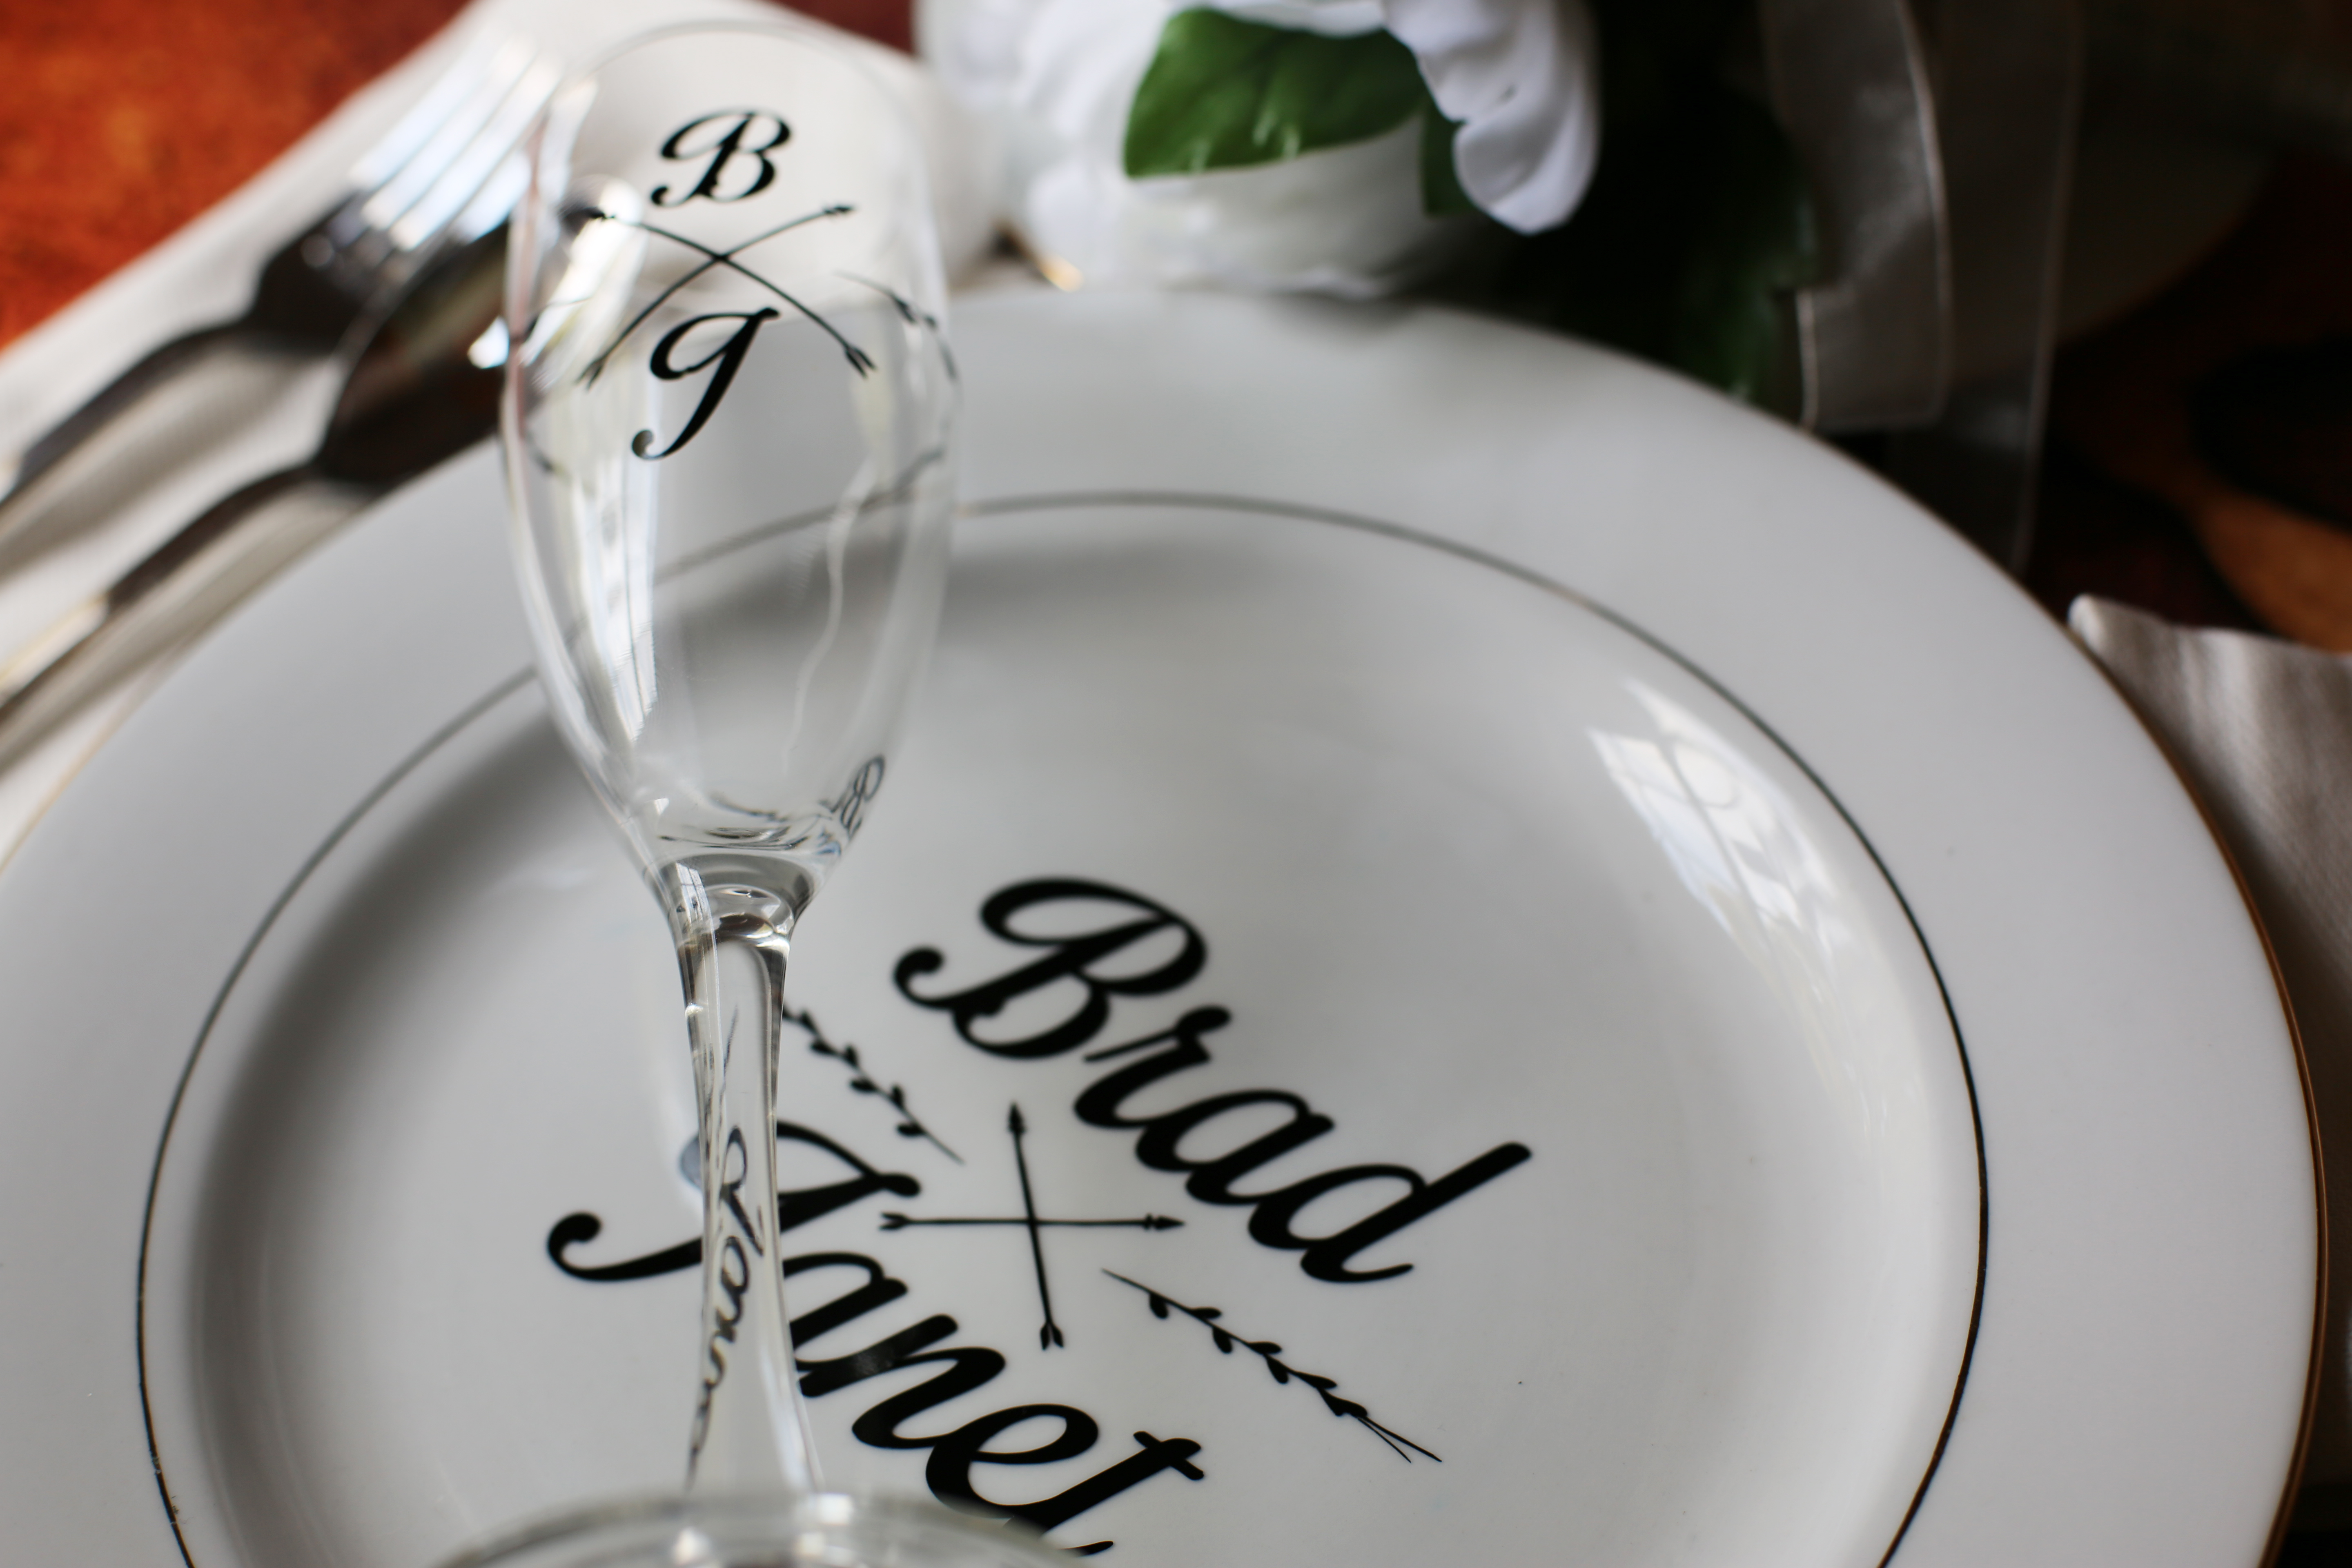
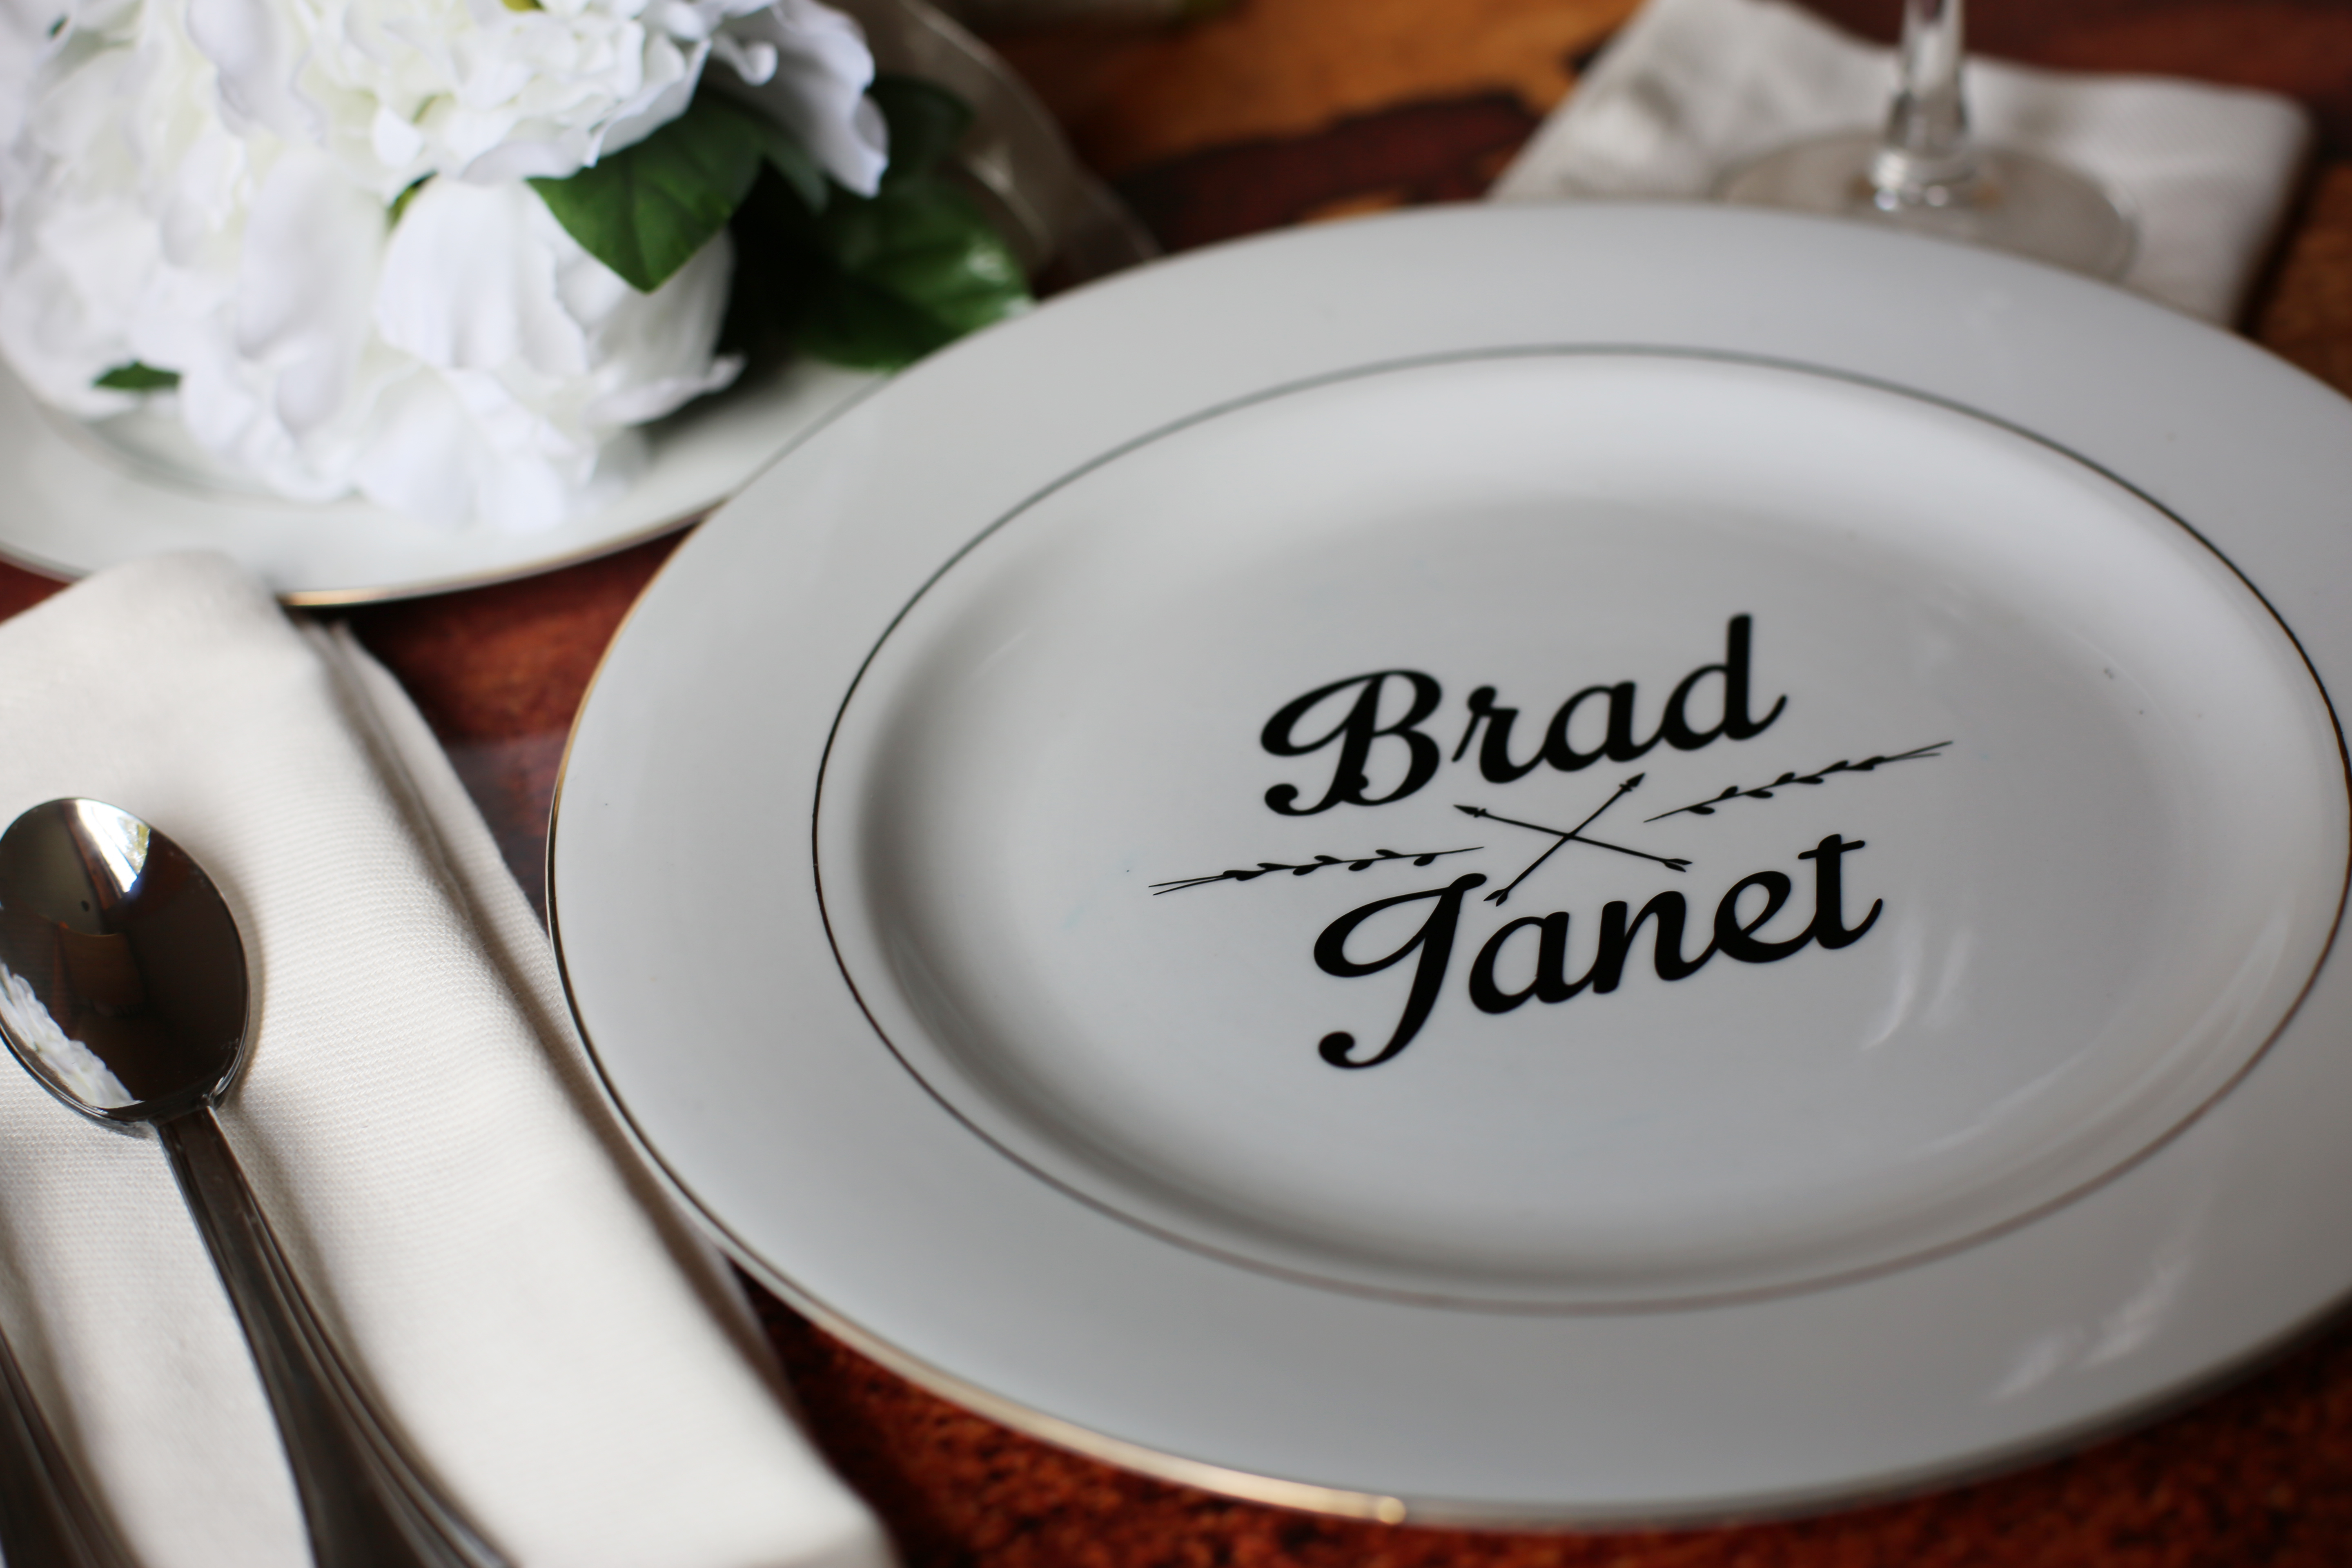
Plate finished! I couldn’t be happier with the design and Vinyl. The plate has a very sleek look now, friendly with a charming personality. But now it’s time to work on the champagne glass and with that comes a different set of challenges. Namely, that it’s on a curved surface.
Step 05:
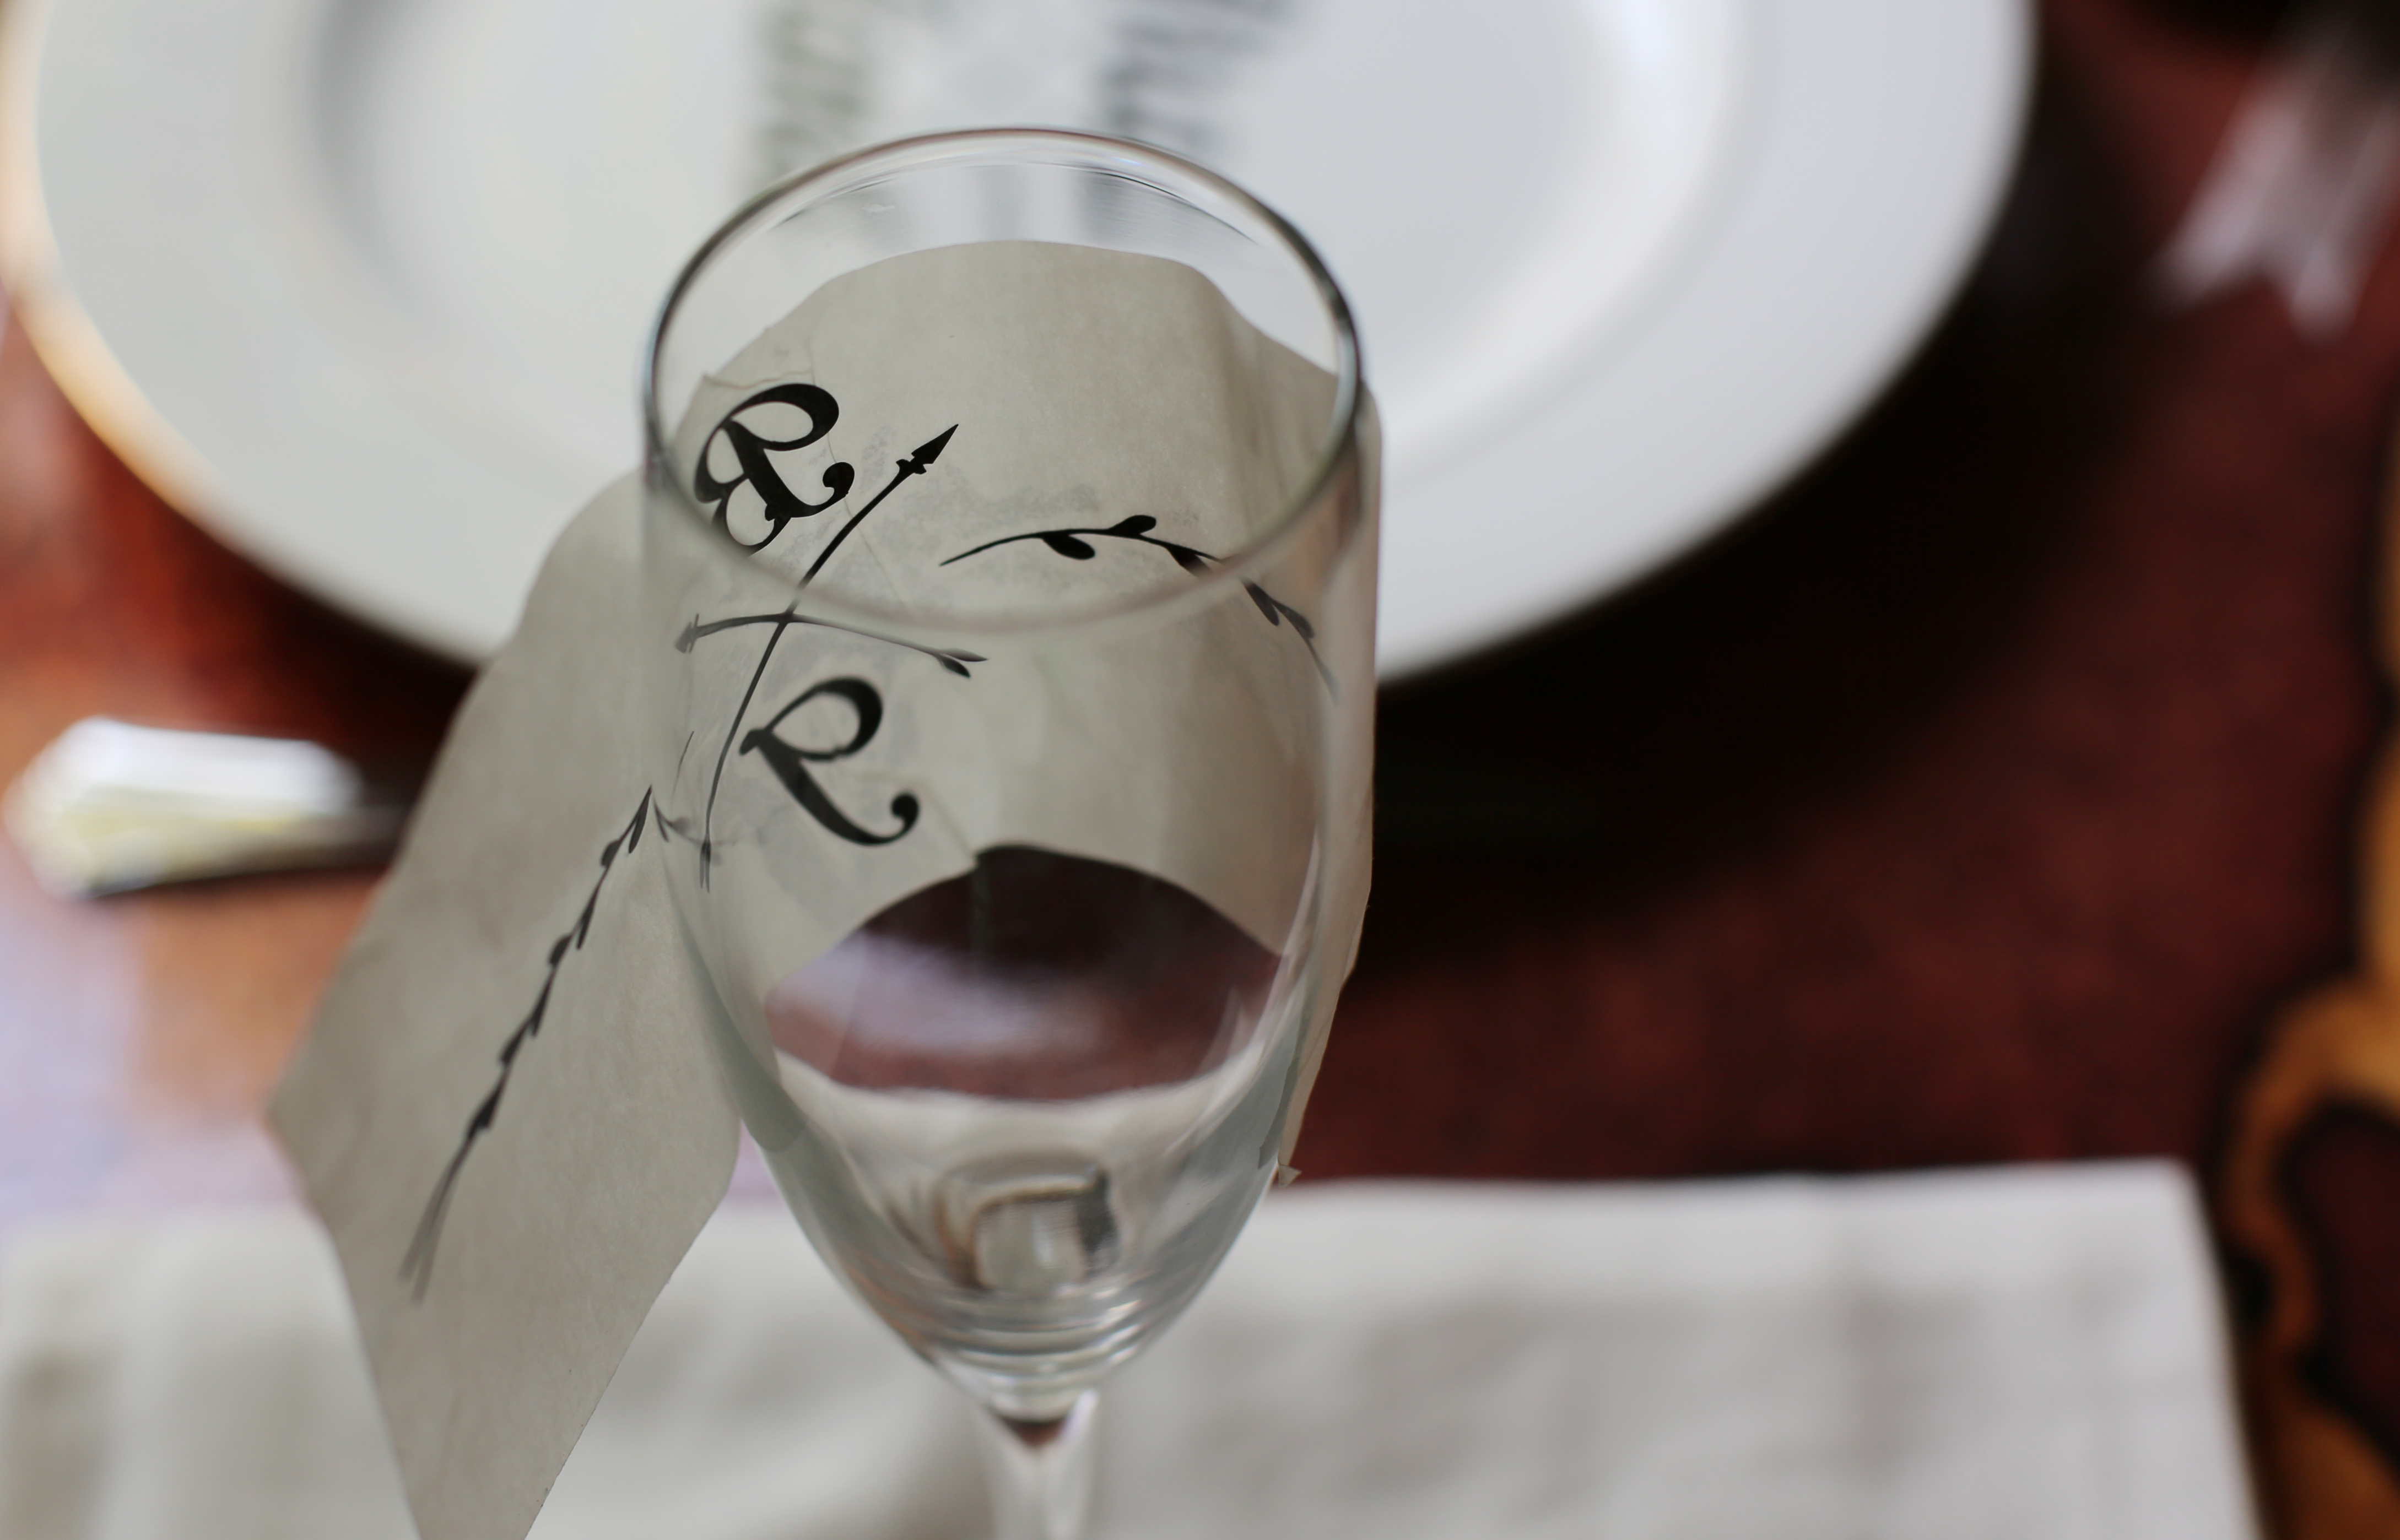
Working on a curved surface can be difficult since your decal is flat. Usually working with small or thin designs is easier as there’s less chance of wrinkles forming. Using the same steps as I mentioned above I removed the vinyl backing and began applying the decal.
 Step 06:
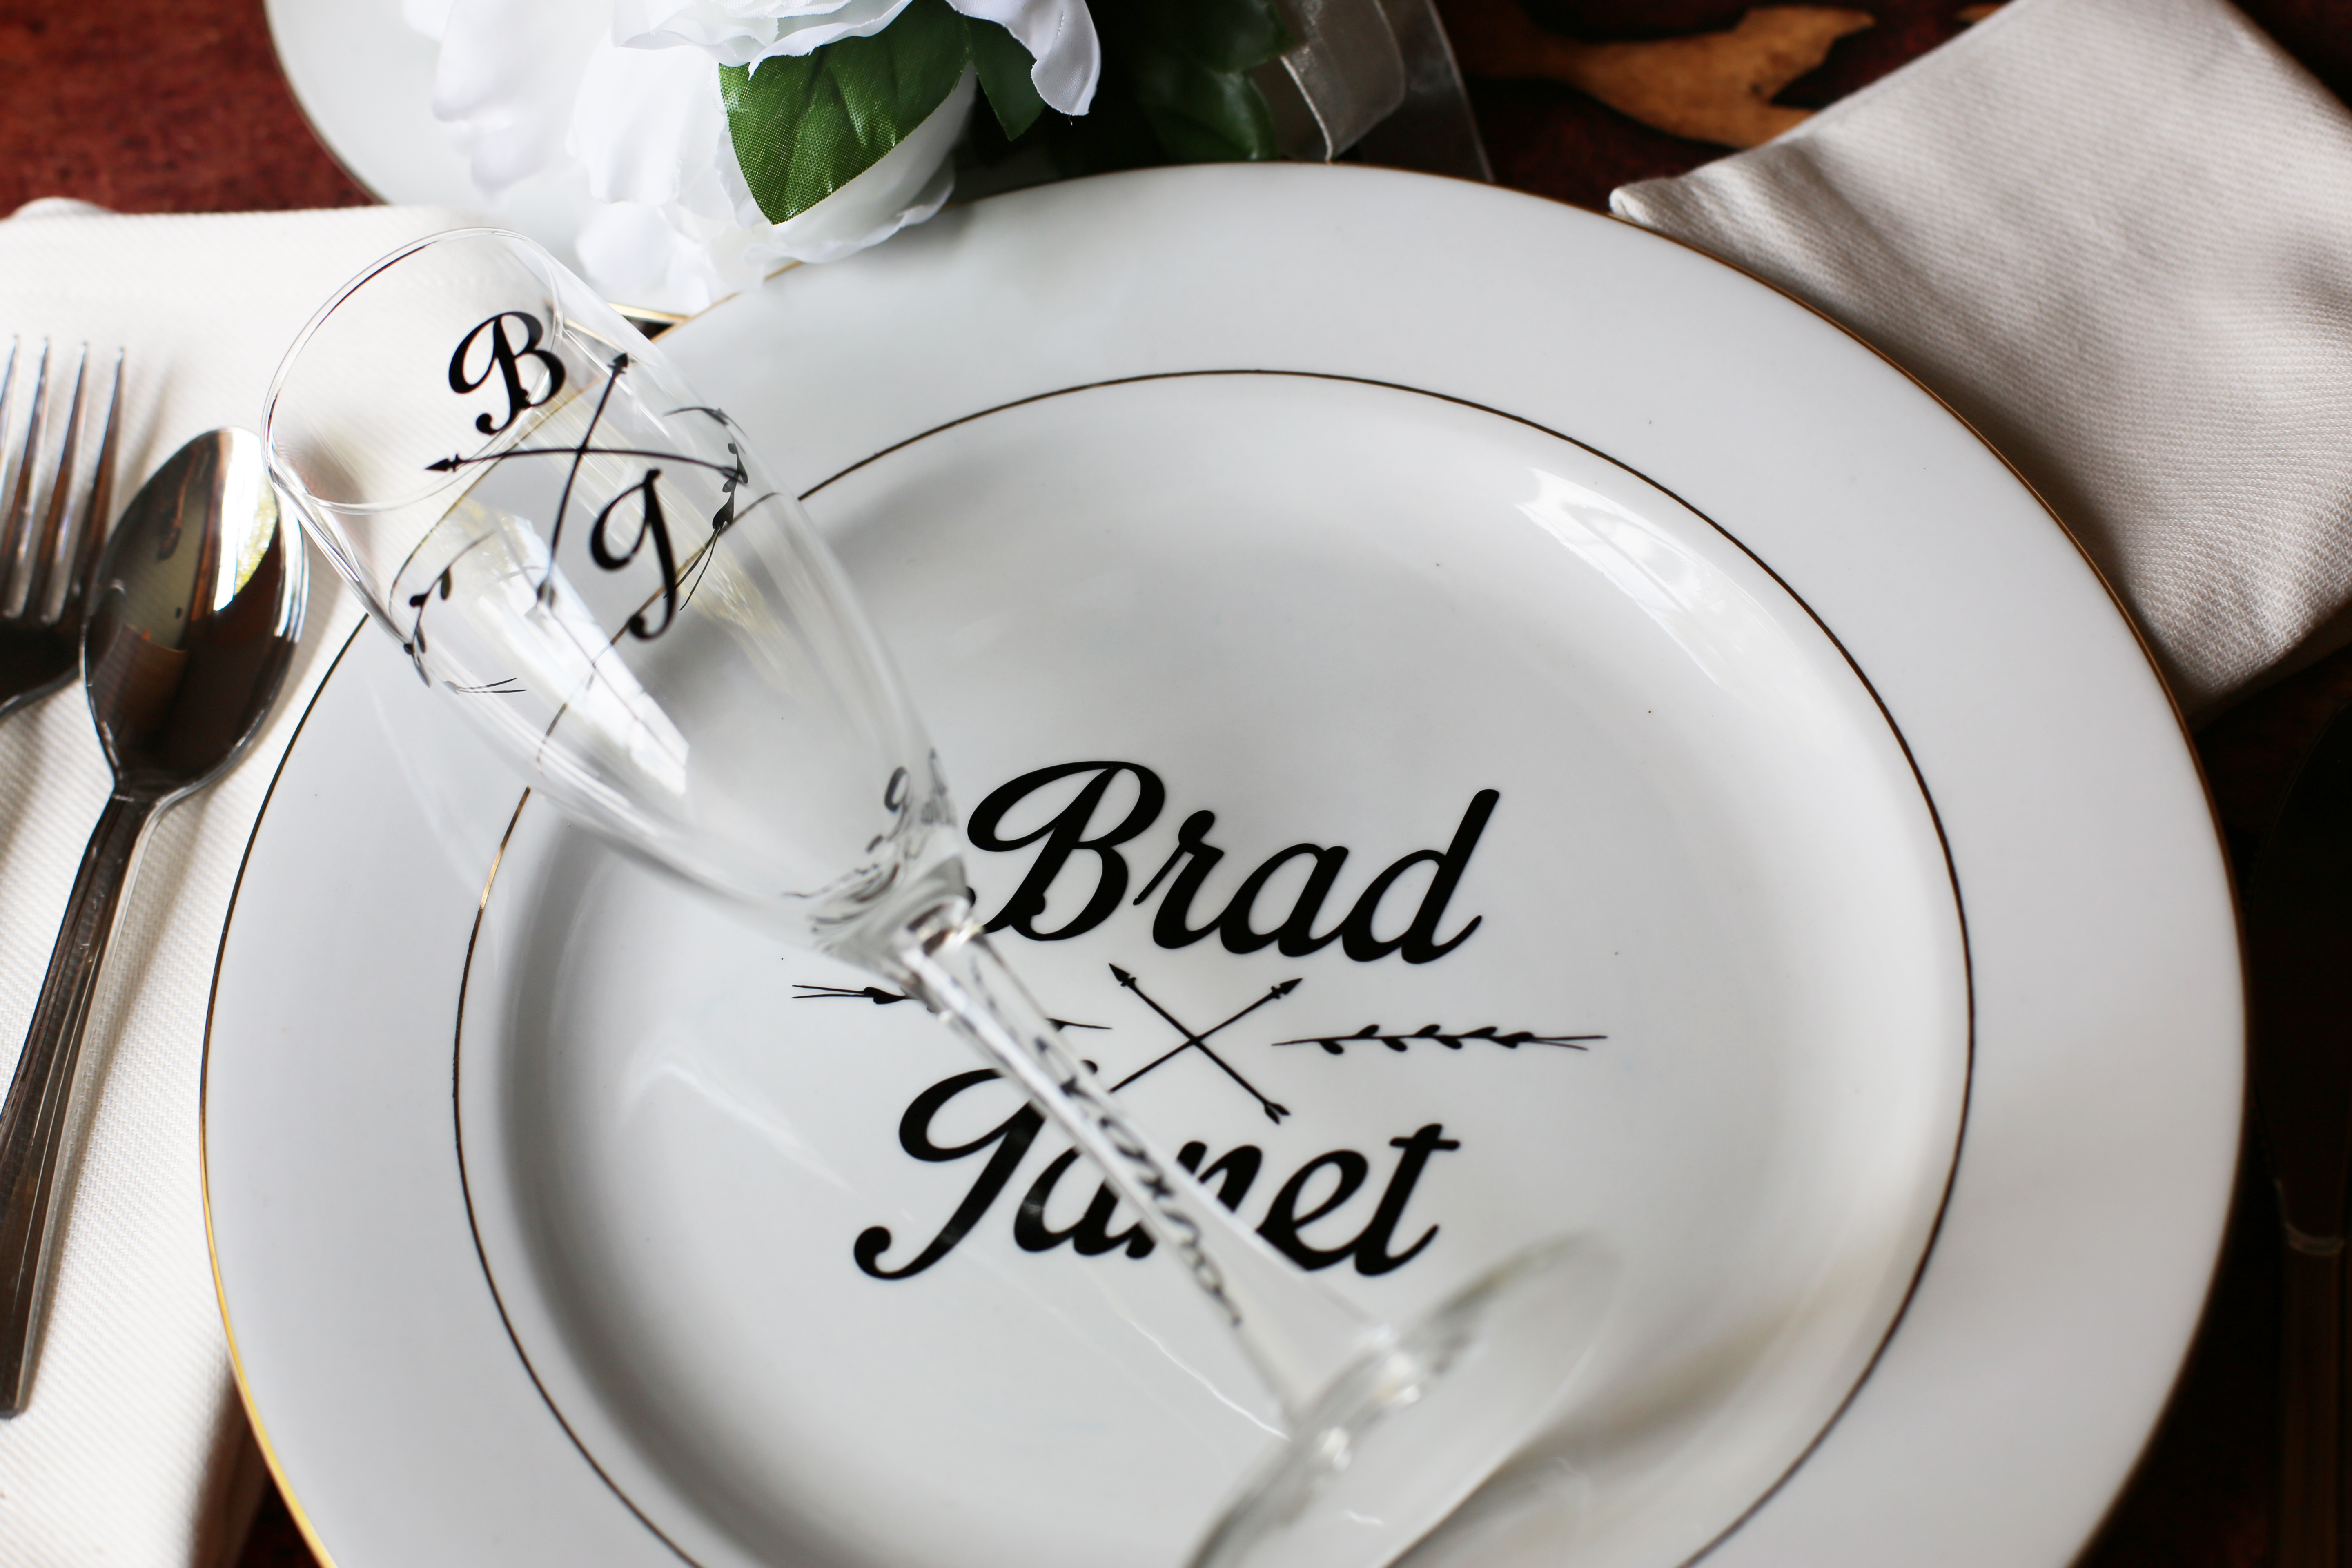
Success! I couldn’t ask for a project to go smoother. These decals are just the tip of the iceberg though as I easily could have gone further and applied lettering to the utensils or table center pieces. Want to see more? Sound off in the comments below and tell us your current DIY project.