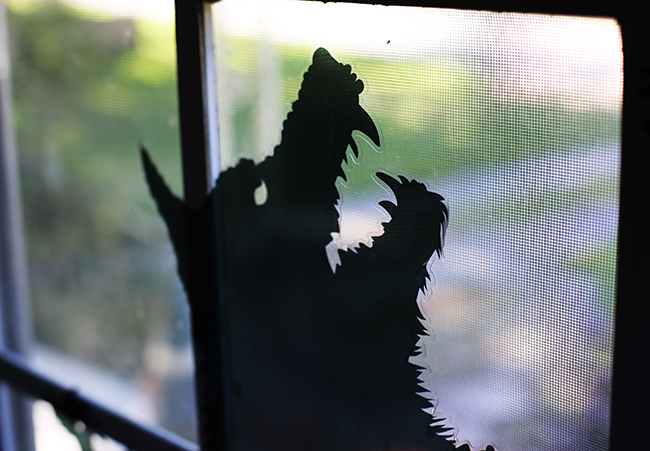
Just in time for my favorite time of the year; Halloween. Every year we throw a Halloween Party and every year we try to do something a little extra to test the waters with our guests. This year, we decided to decorate the front of our house with some creepy halloween themed window decals. In particular, we wanted the light to shine from inside the house to the exterior and illuminate these spooky silhouettes on the windows.
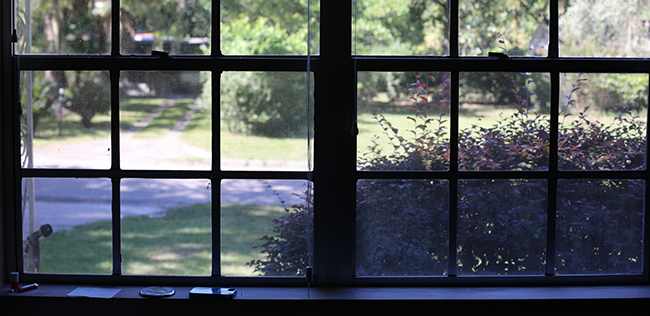
Finding the artwork was fairly easy, as there are a number of resources out there that provide silhouette templates, especially for Halloween. But first let’s take a look at where you’ll be applying these decals. For me, it was obvious- our front windows. They provide a great view of the road and when our blinds are pulled the remaining light will illuminate the silhouettes perfectly. With my location set I went about measuring the windows.
Measure for your Window Decals
In my case I wanted the figures to look about life sized. So I measured from the floor up and found how high the window decals would have to be to look about ‘human height’ if they were really standing in our living room. Next I measured the windows themselves, obviously I wouldn’t want my window decals to be larger than the window themselves, so I had to take special care when designing my graphics.
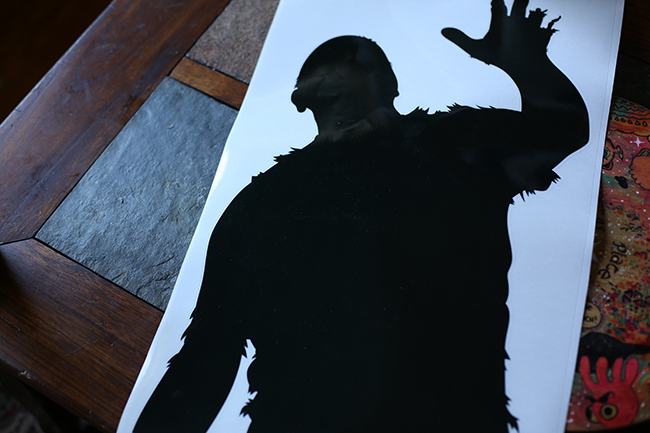
Once I ordered my decals from Lettering on the Cheap it was pretty simple. The order arrived in a few short days and I was ready to go. Now with the decals in hand I was ready to apply them on the window. For this installation I made sure I ordered static cling– this would ensure I could easily remove the vinyl once Halloween was over- as I’m sure our neighbors would appreciate not seeing zombies and werewolves all year long. Static cling is easy to apply as along as you keep in mind a few important principles:
Tips for your Window Decals
- The decal will want to curl and stick to itself.
- The decal will stick to windows extremely well- but is easily moved.
- The decal is easily placed with an extra pair of hands.
Even with the size of these decals, installation went by fairly quickly. I applied one section of the decal at a time, not worried about placement immediately. Once I had the decal aligned as I wanted, I could then readjust and smooth that section out. I did this from the bottom up for these decals. The reasoning being: I needed the shape of the bodies to align perfectly with the bottom of the windows. I couldn’t have a gap, otherwise it would destroy the illusion.
Once applied, I was ready to go and set for our Halloween Party. You can even keep the waxy backing to return the decal to once halloween is over- in this way you’ll be able to reuse the decal next year. Have any questions? Sound off in the comments and remember to check into Lettering on the Cheap and visit our Facebook page!